There is something incredibly rewarding about seeing those long, wiry stems shoot out from your plant, carrying tiny, miniature versions of themselves. These spider plant babies, officially known as “spiderettes,” are the plant’s way of saying, “I’m happy, and I want to take over your house.” To the casual observer, they are just dangling ornaments. To the dedicated indoor gardener, they are the building blocks of a botanical empire.
If you’ve ever looked at those dangling pups and wondered if you should leave them on or snip them off, you aren’t alone. Whether you want to gift them to friends or fill up every empty shelf in your home, mastering the art of growing spider plant babies is the easiest way to become a pro at propagation. But doing it right requires more than just a pair of scissors. It requires an understanding of botany, timing, and environmental triggers.
The Anatomy of a Spiderette: Understanding the Life Cycle
Before we pick up the shears, we have to understand what a spiderette actually is. In the wild (specifically the coastal regions of South Africa), the Spider Plant (Chlorophytum comosum) uses these babies as a survival mechanism. When the mother plant feels established, it sends out long, yellowish runners called stolons.
At the end of these stolons, tiny clusters of leaves form. These are the spider plant babies. In nature, as the stolon grows longer, it eventually touches the ground. The moment those tiny brown nubs on the bottom of the baby touch soil, they explode into roots, anchoring a new plant several feet away from the mother. This is how the plant “walks” across the forest floor.

When is the Right Time to Snip? (The Precision Phase)
You might be tempted to cut off the first tiny baby you see, but patience is key here. If you snip them too early, they won’t have enough energy to survive on their own. They are still tethered to the “umbilical cord” of the mother plant, drawing nutrients and water.
- Look for the Nubs: Check the bottom of the baby plant. You want to see small, brown, “popcorn-like” nubs. These are aerial roots waiting to touch soil or water. If the bottom is smooth and green, it is not ready.
- Size Matters: Wait until the baby is about 2 to 3 inches in diameter. It should have at least 4 to 5 distinct leaves of its own.
- The Stem Health: If the long stem carrying the baby is turning yellow or brown, it’s a sign the mother is finished feeding that specific pup, and it’s time to propagate immediately.
- Root Development: If you see actual white roots starting to emerge while the baby is still hanging in the air, that is a “Stage Red” signal to get it into a medium immediately.
Method 1: Water Propagation (The Visual Success Method)
Growing spider plant babies in water is a fan favorite because you get to watch the roots grow in real-time. It’s also a great way to add a bit of “science experiment” decor to your windowsill.
- The Setup: Find a small jar, test tube, or glass. Fill it with filtered water or rainwater. Tap water often contains fluoride, which can stunt the growth of young roots.
- The Placement: Only the very bottom of the baby (where the nubs are) should touch the water. You must avoid submerging the leaves. If the leaves stay wet, they will succumb to bacterial rot within days.
- The Refresh: Change the water every 2–3 days. This isn’t just about cleanliness; stagnant water loses oxygen. Fresh water provides the oxygen roots need to “breathe” while they develop.
- The Transition: Once the white roots reach about 1 to 2 inches in length, they are ready for soil. Don’t wait too long; “water roots” are different from “soil roots.” If you leave them in water for months, they will struggle to adapt to dirt later.
Method 2: Soil Propagation (The Professional’s Choice)
In the wild, spider plant babies would eventually touch the ground while still attached to their mother. You can mimic this at home for a 100% success rate because the baby is never “stressed” by being cut off from its food source.
- The Side-by-Side Trick: Place a small 2-inch pot filled with damp seed-starting mix right next to the mother plant.
- Anchoring: Take a healthy baby (still attached to the mother) and tuck its base into the new soil. You can use a bent paperclip or a “U” shaped wire to hold it down gently so the nubs stay in contact with the dirt.
- The Cord Cut: Keep the soil in the new pot consistently moist. In about 2 to 3 weeks, give the baby a tiny, gentle tug. If you feel resistance, it has grown its own roots. Now you can snip the connecting stem.
- Why this works: This method is the safest way to propagate because the mother plant continues to act as a life-support system until the baby is fully “independent.”
The “Direct Snip” Method: For the Brave Gardener
If you have a massive plant with dozens of spider plant babies, you might not have the space for jars or side-pots.
- Snip the baby off the stem using sterilized scissors.
- Dip the base in a tiny bit of cinnamon (a natural antifungal).
- Poke a hole in a pot of moist potting soil and bury the base of the baby.
- Place the whole thing in a gallon-sized Ziploc bag to create a mini-greenhouse. This keeps the humidity high so the leaves don’t wilt while the roots are trying to form.
The Secret Science: Why Some Plants Don’t Make Babies
It is a common frustration: you have a beautiful, huge Spider Plant, but zero babies. This usually comes down to three factors:
- Pot Size: Spider plants are “stress bloomers.” If they are in a massive pot with too much room, they focus all their energy on growing roots to fill that space. They only start making babies when they feel a little bit “crowded” (root-bound).
- Light Levels: Making babies takes a massive amount of energy. If your plant is in a dark corner, it will prioritize its own survival over reproduction. Move it to bright, indirect light to trigger the runner stems.
- Age: A Spider Plant usually needs to be at least a year old before it has the hormonal maturity to produce stolons.
Environmental Triggers for a “Pup Explosion”
If you want to force your plant to produce more spider plant babies, you can manipulate the environment:
- The Light Cycle: Ensure the plant gets at least 12 hours of bright light. In the winter, use a cheap LED grow light to trick the plant into thinking it’s summer.
- The Fertilizer Trick: Use a fertilizer with a slightly higher Phosphorus (the middle number, e.g., 10-15-10). Phosphorus is the chemical that triggers blooming and runner production. Avoid high Nitrogen fertilizers, which only make the leaves longer.
- Temperature Drops: A slight drop in nighttime temperature (around 55-60°F) can sometimes mimic the change of seasons and trigger the plant to produce offspring.
Long-Term Care for New Spiderettes
Once your spider plant babies are in their own pots, they are vulnerable. They don’t have the “internal battery” (the thick tubers) that the mother plant has yet.
- Watering: Keep the soil slightly more moist than you would for an adult plant. Young roots can dry out and die in a matter of hours.
- Feeding: Do not feed a new baby for the first 3 months. The salts in fertilizer can burn the tender new root hairs.
- Pests: Fungus gnats love the moist soil of new propagations. Use a thin layer of sand on top of the soil to prevent gnats from laying eggs.
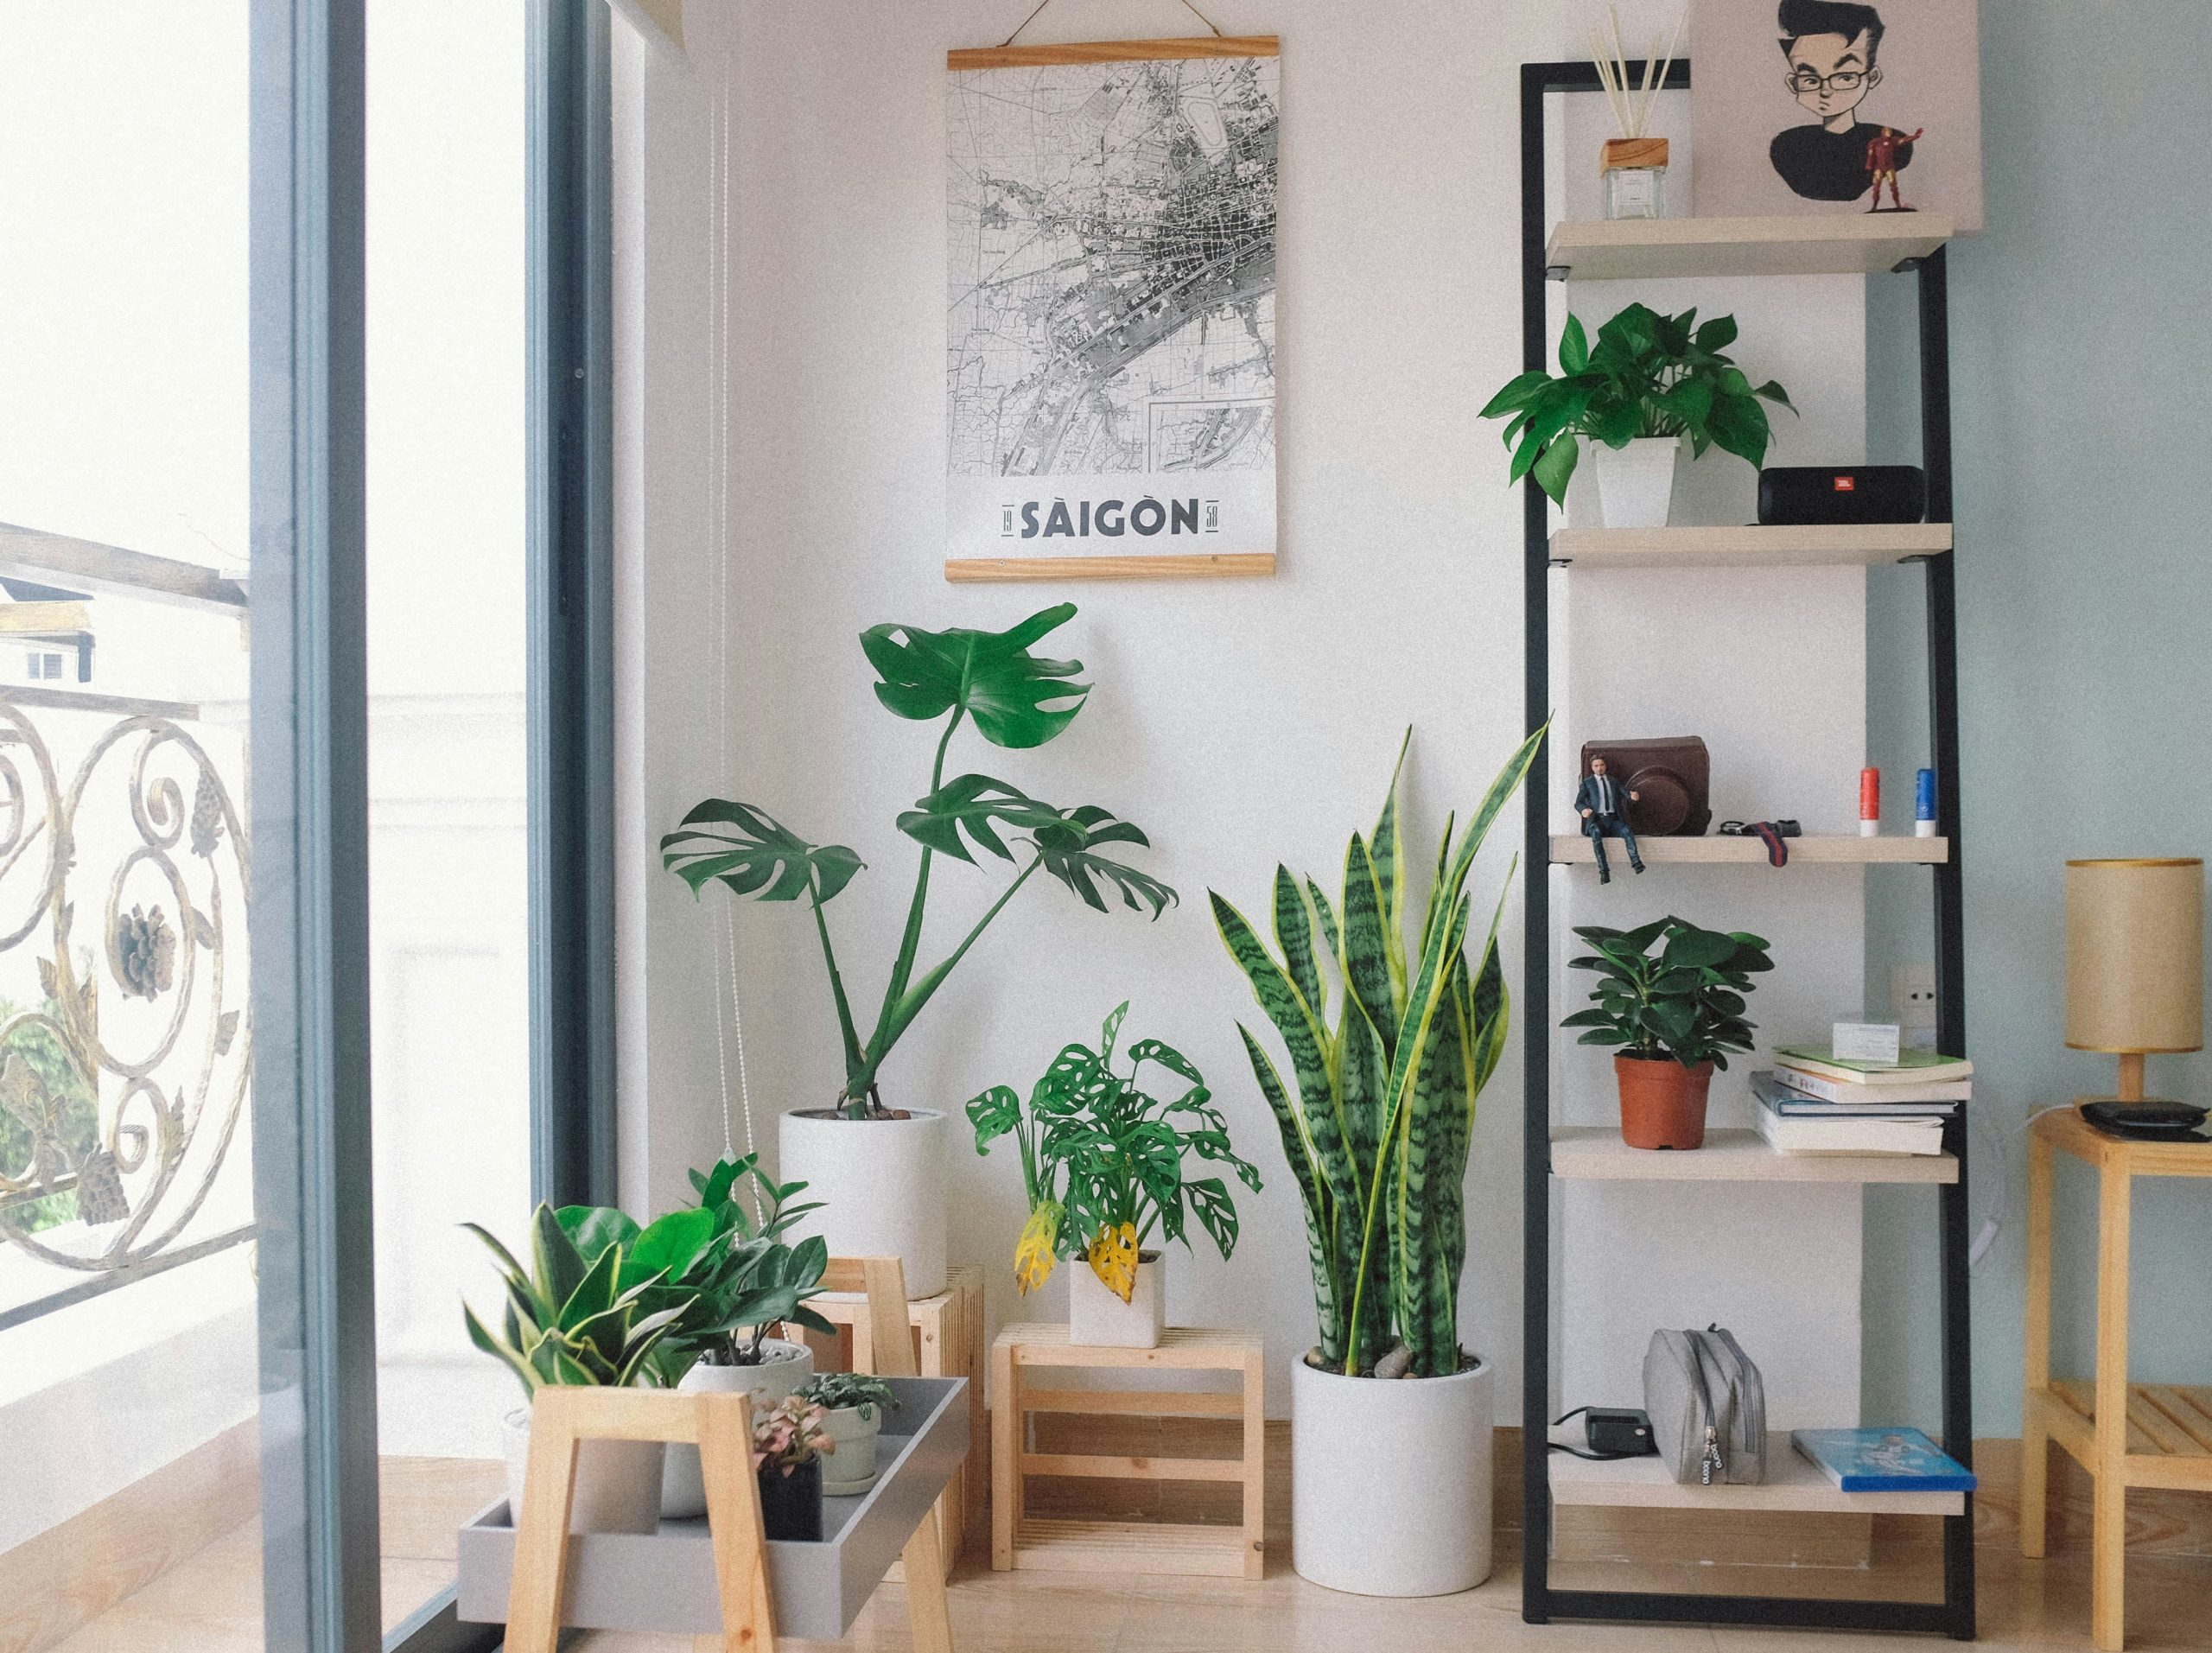
The Aesthetic Value: Designing with Babies
Don’t feel like you have to cut them off. Spider plant babies offer incredible design opportunities:
- The Living Chandelier: Hang the mother plant high up in a macrame holder. Let the babies dangle down to create a tiered green effect.
- The Table Runner: Place a long rectangular planter on a dining table and let the babies trail across the surface.
- The Wall of Green: If you have multiple plants on a shelf, let the babies intermingle to create a dense curtain of foliage.

Common Myths About Spiderettes
- Myth: You must use rooting hormone. Truth: Spider plants are so high in natural auxins (growth hormones) that they almost always root without any help.
- Myth: You can grow them from just a leaf. Truth: Unlike succulents, you cannot grow a Spider Plant from a single leaf cutting. You must have the base of the baby (the node).
- Myth: Brown tips on babies mean the mother is sick. Truth: Usually, it just means the air in your house is too dry. The mother is fine!
Troubleshooting Your Pups: Why are they Struggling?
Sometimes things don’t go according to plan. Here’s how to fix common baby-plant problems:
- Babies Turning Brown: This usually means the air is too dry or you are using tap water with too much fluoride. Try misting them or switching to filtered water.
- No Babies Growing: If your plant isn’t producing pups, it’s likely too young or the pot is too big. Spider plants often wait until they are a little bit “root-bound” before they start focusing on making babies.
- Limp Leaves: If the babies look soft and droopy, they are likely receiving too much direct sunlight or are drowning in stagnant water.
- Yellowing: This is often a sign of “umbilical failure.” If the stem connecting the baby to the mother is crushed or bent, the baby will starve. Snip it and put it in water immediately.
The Economic Benefit: The “Free” Gift Strategy
In the world of professional blogging and SEO, we often talk about value. Spider plant babies are literal value you can share.
- Community Building: Offer rooted babies to neighbors or coworkers. It is the ultimate “green” icebreaker.
- Sustainable Gifting: Instead of buying a plastic-wrapped gift, a hand-potted baby spider plant in a recycled terracotta pot is a thoughtful, eco-friendly gesture.
Conclusion: Building Your Botanical Legacy
Mastering the care and propagation of spider plant babies is more than just a hobby; it is a way to connect with the incredible resilience of nature. By understanding the triggers that lead to pup production and the precise timing required for snipping, you transform from a casual plant owner into a skilled botanical architect.
The beauty of the Spider Plant lies in its generosity. It doesn’t just sit in a pot; it actively tries to expand its presence in your home. Whether you choose the visual magic of water propagation, the safety of soil anchoring, or the aesthetic charm of a cascading mother plant, you are participating in a cycle of growth that has fascinated gardeners for generations. Take care of the mother, be patient with the pups, and soon your home will be a thriving, air-purifying jungle built entirely from the tiny “babies” of a single plant.
FAQs
1. How long does it take for spider plant babies to root in water?
Usually, you will see the first white root tips within 5 to 10 days. A full, transplantable root system typically takes 3 weeks.
2. Can I propagate spider plant babies in the winter?
Yes, but expect it to take twice as long. Plants have lower metabolic rates in winter due to shorter day lengths. Using a heat mat can speed this up.
3. Why are my spider plant babies’ tips turning brown?
This is typically “Fluoride Toxicity.” Spider plants are “accumulators,” meaning they suck up chemicals from tap water and push them to the very ends of the leaves. Use filtered water to prevent this.
4. Is it okay to leave babies on the mother plant forever?
Yes, but eventually, the weight might become too much for the stems, and they may snap. Also, the mother plant will stop producing new center leaves as she directs all her sugar to the babies.
5. How do I make my spider plant babies grow faster?
Light is the engine of growth. Move the babies to a spot with 14 hours of bright, indirect light and maintain a temperature between 65°F and 75°F.
6. What is the best pot size for a new spiderette?
Never go larger than a 3-inch pot for a single baby. Too much soil holds too much water, which will rot the tiny, delicate roots before they can even start growing.
7. Do spider plant babies need fertilizer?
Wait until you see active new leaf growth (usually 2-3 months after potting). Then, use a balanced liquid fertilizer diluted to 25% strength.
8. Can I grow spider plant babies in low-light offices?
They will survive for a while, but they will likely become “leggy” (stretched out) and pale. They won’t have the strength to produce their own babies in the future.
9. Are spider plant babies safe for cats?
Yes! They are non-toxic. However, cats love to play with the dangling babies and might eat them. While safe, it’s better to hang the plant high to save your foliage.
10. Why is my mother plant producing “flowers” instead of babies?
The small white flowers actually come first! Once the flower fades, the “baby” plant grows from the same spot on the stem. If you have flowers, babies are on the way!