Growing your own food is one of the most rewarding aspects of indoor gardening, and nothing offers more immediate gratification than microgreens. These tiny, nutrient-dense greens are essentially the “seedling” stage of vegetables and herbs, harvested just after the first true leaves have developed. Because they are packed with up to 40 times more nutrients than their mature counterparts, they have become a staple for health-conscious homeowners, urban farmers, and gourmet chefs alike.
In this definitive guide, we will walk through every stage of growing microgreens at home. Whether you are a city dweller with a small kitchen windowsill or an experienced gardener looking to expand into the niche of indoor edibles, this professional framework will help you achieve a high-yield, restaurant-quality harvest every single time.
The Evolution of the Indoor Edible Garden
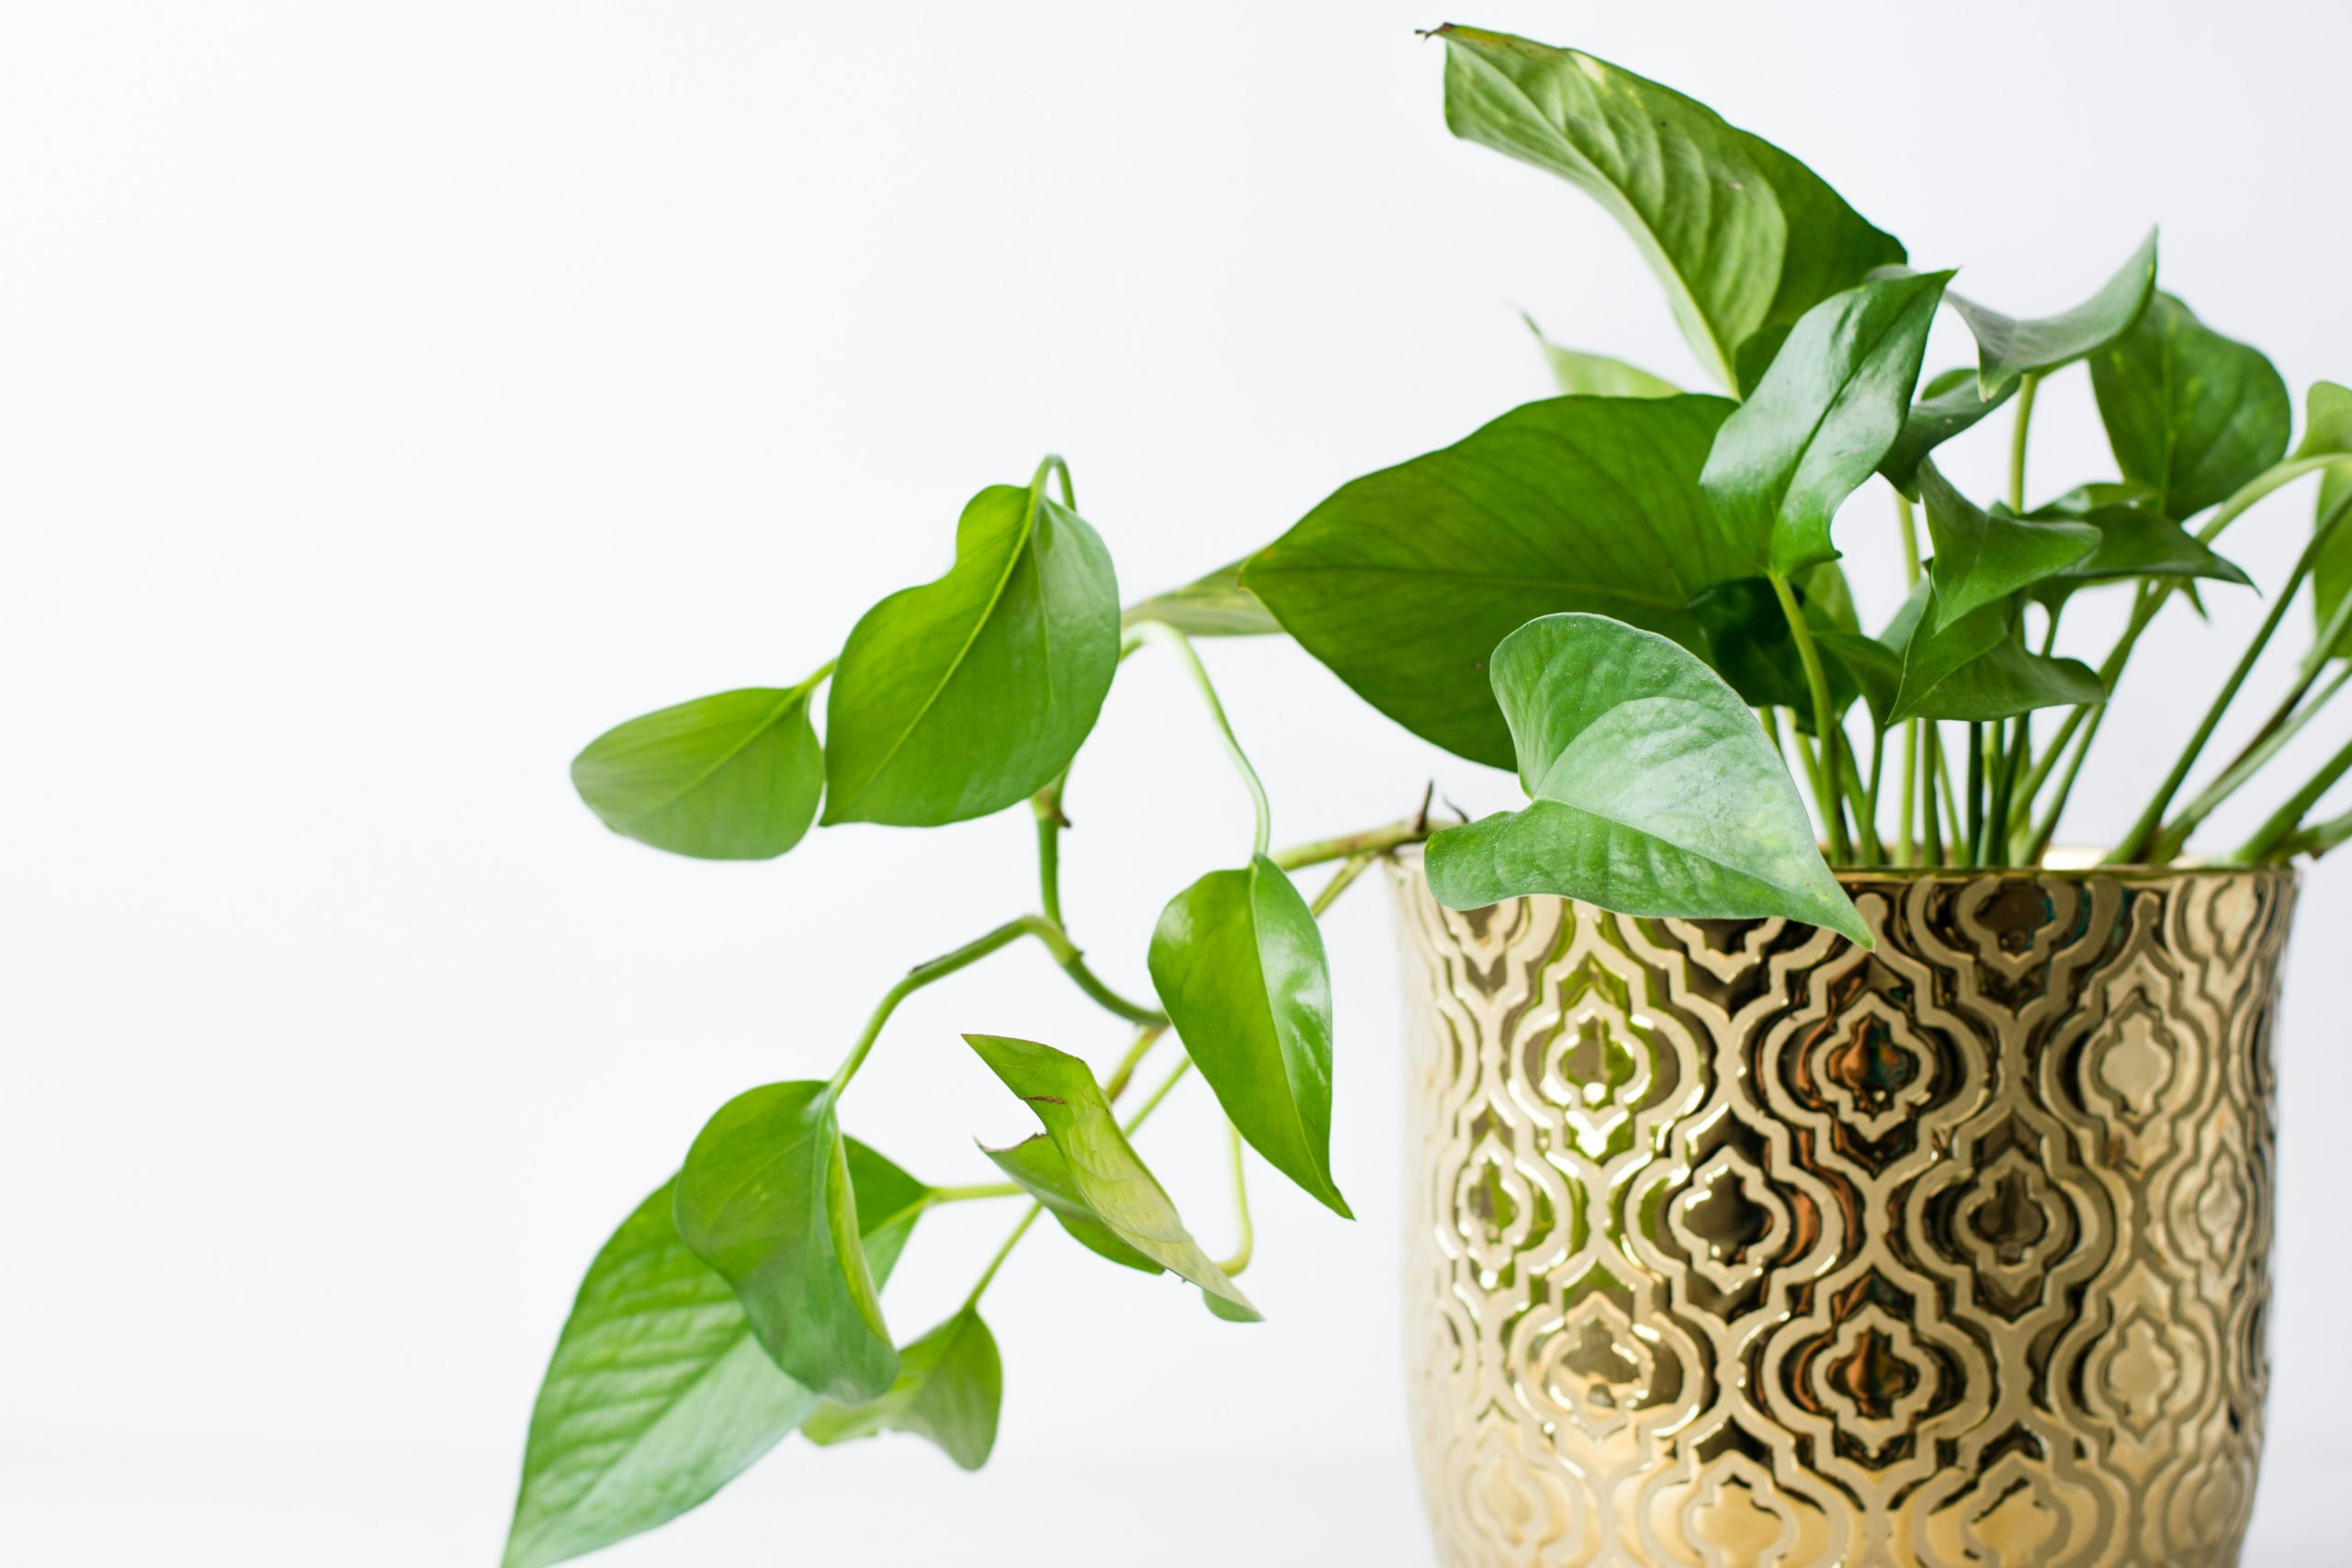
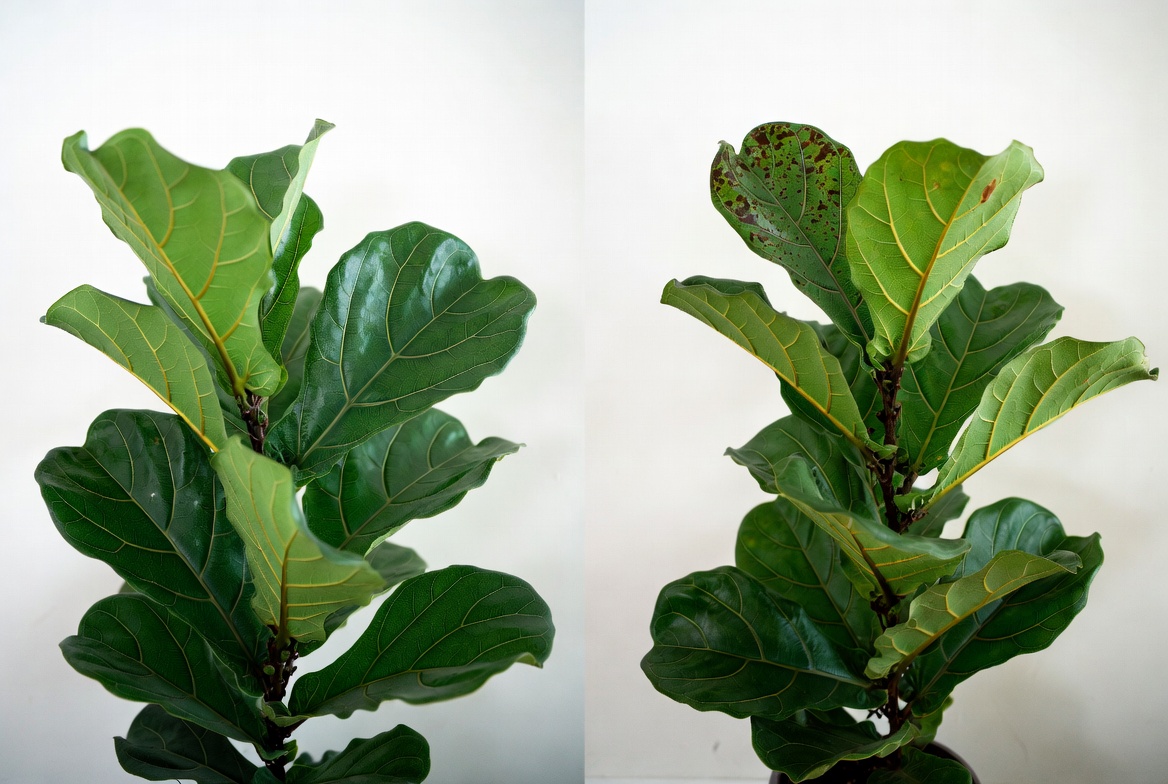
For decades, indoor gardening was limited to ornamental species like the Monstera or the Fiddle Leaf Fig. However, the modern movement toward self-sufficiency and “farm-to-table” living has shifted the focus toward functional greenery. Microgreens represent the perfect intersection of aesthetics and utility. They require very little space, no expensive specialized equipment, and can be grown year-round regardless of the weather outside. From a design perspective, the vibrant purples of radish microgreens and the deep emerald of kale seedlings add a fresh, living element to any modern kitchen.

1. Selecting High-Quality Seeds
The journey of learning how to grow microgreens starts with selecting the right genetics. While almost any vegetable can be grown as a microgreen, some are much easier for beginners because they germinate quickly and are less prone to common issues like mold or uneven growth.
- The Easy Starters: Radish, Broccoli, Kale, Kohlrabi, and Arugula. These seeds are large enough to handle easily and typically reach harvest height in 7 to 10 days. Radishes, in particular, are a favorite because they provide a spicy flavor and grow almost overnight.
- The Intermediate Varieties: Sunflowers and Pea Shoots. These are “large-seeded” varieties. They require a “pre-soaking” phase in water for 8–12 hours to soften their tough outer shells. Once they sprout, they produce thick, crunchy stems that are excellent for salads.
- The Advanced Varieties: Cilantro, Beets, and Swiss Chard. These take longer to germinate (up to 21 days) and require very consistent moisture levels and temperature control to prevent the seeds from drying out before they can break through the surface.
When purchasing, always look for seeds labeled specifically for microgreen use. These are usually sold in bulk and are pathogen-tested to ensure they are safe to eat raw.
2. Choosing the Ideal Growing Medium
In the world of indoor gardening, your soil is your foundation. Since microgreens are only in the soil for a short time, they don’t need a heavy, nutrient-rich compost. Instead, they need a medium that provides excellent drainage and stays “fluffy” so the tiny roots can move easily.
- Seed Starting Mix: This is a fine-textured, soil-based mix that holds moisture exceptionally well. It is the most reliable choice for beginners.
- Coconut Coir: A sustainable, soil-less medium made from the husks of coconuts. It is pH neutral, holds 10 times its weight in water, and is very “clean” for indoor use, meaning it doesn’t have the “earthy” smell of traditional soil.
- Hydroponic Growing Mats: These are specialized mats made of hemp, jute, or wood fiber. They allow you to grow microgreens without any soil at all. While they are the cleanest option for a kitchen counter, they require more frequent watering because they dry out faster than soil.
3. Essential Equipment for a Professional Setup
You don’t need a high-tech greenhouse, but having the right tools makes the process much more efficient.
- Growing Trays: Standard “1020” trays are the industry standard, but any shallow container (about 2 inches deep) will work. Ensure your growing tray has drainage holes. You will also need a second tray without holes to act as a reservoir for bottom-watering.
- Fine-Mist Spray Bottle: A high-quality mister is crucial during the first few days of growth. It allows you to hydrate the seeds without washing them into a corner of the tray.
- Lighting Systems: While a sunny windowsill can work in the summer, a simple LED grow light or a T5 fluorescent shop light will provide the consistent 12–16 hours of light needed to prevent “leggy” or weak stems.
- Small Circulation Fan: Good airflow is the secret to preventing mold. A small USB-powered fan nearby will strengthen the stems and keep the air moving through the dense canopy of greens.
4. Sowing Seeds for Maximum Density
The secret to a lush, carpet-like harvest is “high-density sowing.” Unlike traditional outdoor gardening, where you space seeds inches apart, microgreen seeds are spread thick to maximize the yield of a small tray.
- Preparation: Fill your tray with about 1.5 to 2 inches of your chosen medium. Lightly compress the surface with a flat piece of wood or cardboard to ensure it is perfectly level.
- Hydration: Mist the soil until it is damp but not soaking wet.
- Distribution: Spread your seeds evenly across the surface. For small seeds like broccoli, you want about 10–12 seeds per square inch. For larger seeds like peas, they should be touching but not overlapping.
- Final Mist: Give the seeds one last spray of water to ensure they are well-seated against the soil.
5. Implementing the Weighted Blackout Phase
Most people learning how to grow microgreens make the mistake of putting them in the light immediately. Microgreens require a “Blackout Phase” for the first 2–4 days to simulate being underground.
- The Weighting Method: Place a second tray (without holes) directly on top of the seeds, and place a small weight (like a brick or a heavy stone) inside it. This pressure forces the roots to dive deep into the soil and encourages the stems to grow strong and tall as they try to “lift” the weight.
- Darkness: Keep them in total darkness during this time. Once the seedlings are about an inch tall and are starting to push the weighted tray up, it is time to remove the cover and introduce them to the light.
6. Optimizing Light Exposure
Once the blackout phase is over, your microgreens will look yellow and pale. Don’t worry—as soon as they hit the light, they will begin photosynthesis and turn a vibrant green within hours.
- Duration: Provide 14 to 16 hours of light per day.
- Distance: Keep your LED grow lights about 6–10 inches above the tray. If the lights are too far away, the plants will stretch and become weak. If they are too close, the heat might dry out the delicate leaves.
7. Mastering Bottom-Watering
Watering from the top once the greens have established a dense canopy is a recipe for disaster. Moisture trapped between the stems leads to “damping off” and mold.
Instead, use the “bottom-watering” method:
- Lift your growing tray and pour about half an inch of water into the bottom (outer) tray.
- Set the growing tray back inside.
- The soil will “wick” the moisture upward, keeping the roots hydrated while the stems and leaves stay perfectly dry.
8. Distinguishing Root Hairs from Mold
One of the most common panics for new growers is seeing a white, fuzzy substance at the base of the stems.
- Root Hairs: If the fuzz is concentrated only at the root level and disappears when you mist it, these are tiny root hairs. They are a sign of a healthy, thirsty plant.
- Mold: If the fuzz is climbing up the stems, looks like a spiderweb, and has a musty smell, it is mold. Mold is usually caused by too much humidity or seeds that were sown too densely. If you find mold, increase airflow and reduce your watering frequency.
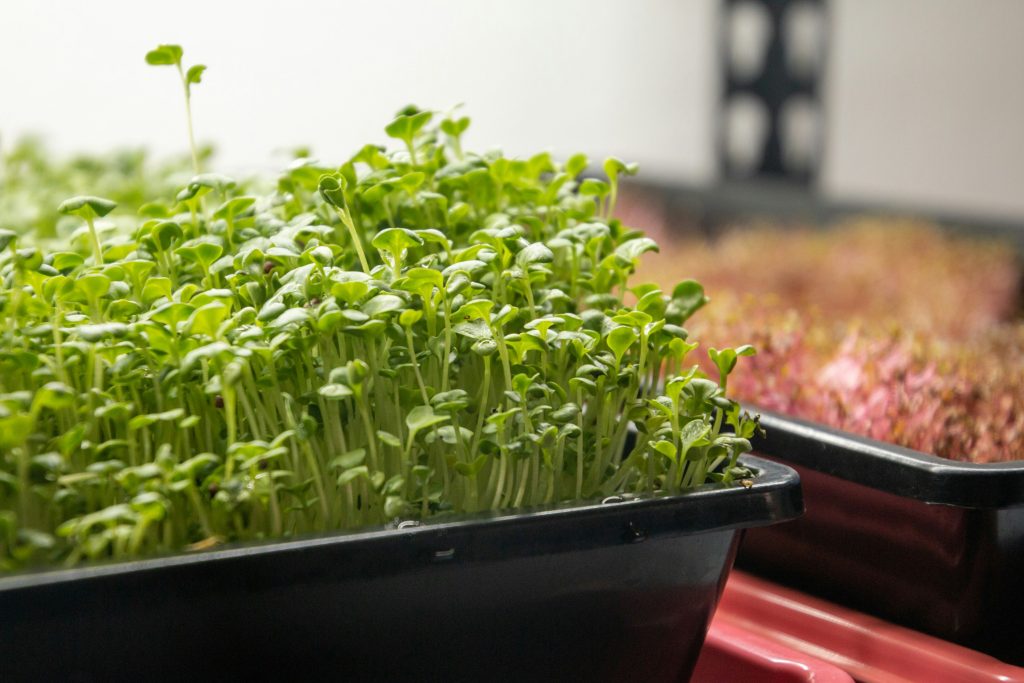
9. Harvesting Techniques for Clean Greens
Your microgreens are ready for harvest when they have developed their “cotyledons” (the first set of leaves) and are roughly 2–3 inches tall. Some growers wait until the “true leaves” (the second set) just begin to emerge, as this often marks the peak of the flavor profile.
- Tools: Use sharp, sterilized kitchen shears or a ceramic harvesting knife.
- Method: Grasp a small bunch of greens gently and cut them about half an inch above the soil line. Do not pull them out by the roots, as the attached soil is difficult to wash off and will ruin the texture of your dish.
10. Post-Harvest Storage Best Practices
Microgreens are incredibly delicate. To maximize their shelf life, do not wash them until the moment you are ready to eat them.
- Storage: Place the dry, harvested greens in a glass container or a plastic bag. Place a dry paper towel inside to absorb any excess moisture.
- Refrigeration: They will stay fresh in the refrigerator for 5–7 days. If they start to wilt, a quick soak in ice-cold water for 30 seconds can often “revive” them before serving.
11. Incorporating Microgreens into Meals
While many restaurants use microgreens as a simple garnish, they are versatile enough to be the star of a meal.
- Spicy Radish & Arugula: Excellent for topping avocado toast, tacos, or steak.
- Mild Broccoli & Kale: These are perfect for blending into morning smoothies for a massive nutrient boost without a “grassy” taste.
- Crunchy Pea Shoots: These can be lightly sautéed with garlic and ginger for a gourmet side dish, or eaten raw in wraps.
12. Establishing a Perpetual Harvest Cycle
The goal of a successful indoor edible garden is consistency. Because microgreens grow so fast, you can easily set up a “rotation.”
- Day 1: Sow Tray A.
- Day 4: Sow Tray B (while Tray A enters the light).
- Day 7: Sow Tray C. By the time you harvest Tray A, Tray B is almost ready, and Tray C is just entering the light. This ensures that you have a constant supply of fresh, organic nutrition on your table every single day.
Conclusion
Mastering how to grow microgreens is a foundational skill for any modern indoor gardener. It proves that you do not need a large backyard or expensive machinery to produce high-quality, organic food. By focusing on the technical details—proper seed density, the weighted blackout phase, and the bottom-watering method—you can transform a small corner of your home into a highly productive mini-farm. These tiny greens are a testament to the fact that in gardening, sometimes the smallest plants offer the biggest rewards in terms of both health and satisfaction.
FAQs
1. Can I grow microgreens without soil?
Yes, you can use hydroponic mats made of hemp, jute, or coco-coir. These are often cleaner for kitchen use but require more diligent watering since they don’t hold moisture as long as soil.
2. Do microgreens grow back after you cut them?
Generally, no. Most varieties (radish, broccoli, kale) are one-and-done. Peas and sunflowers can sometimes provide a small second harvest if you leave a few leaves at the base, but the quality is much lower.
3. Are microgreens the same as sprouts?
No. Sprouts are grown in water, and you eat the entire seed and root. Microgreens are grown in soil (or a medium), they require light, and you only eat the stems and leaves.
4. How much light do they need?
Microgreens need “strong” light. While a windowsill can work, it often leads to “leggy” plants. An LED grow light for 12–16 hours a day is the best way to ensure a healthy harvest.
5. Why are my microgreens falling over?
This is usually due to one of two things: they are thirsty (check the soil) or they are “leggy” because they aren’t getting enough light.
6. Is it safe to eat the seeds?
In microgreens, you are only eating the stems and the leaves. The seed remains in the soil. Always use organic, untreated seeds.
7. Can I use regular garden soil?
It is not recommended for indoor use. Garden soil can contain pests, weed seeds, and pathogens. It is also very heavy and can be compacted.
8. Do I need to fertilize my microgreens?
Since microgreens are harvested so young, they get all the nutrition they need from the seed itself. Fertilizer is generally not necessary for short-cycle varieties.
9. What temperature is best for microgreens?
They thrive in standard room temperatures (18°C to 24°C). If the room is too hot, you risk mold; if it’s too cold, growth will be very slow.
10. How long do they take to grow?
Most varieties are ready in 10 to 14 days. Some fast-growing greens like radish can be ready in as little as 6 or 7 days.