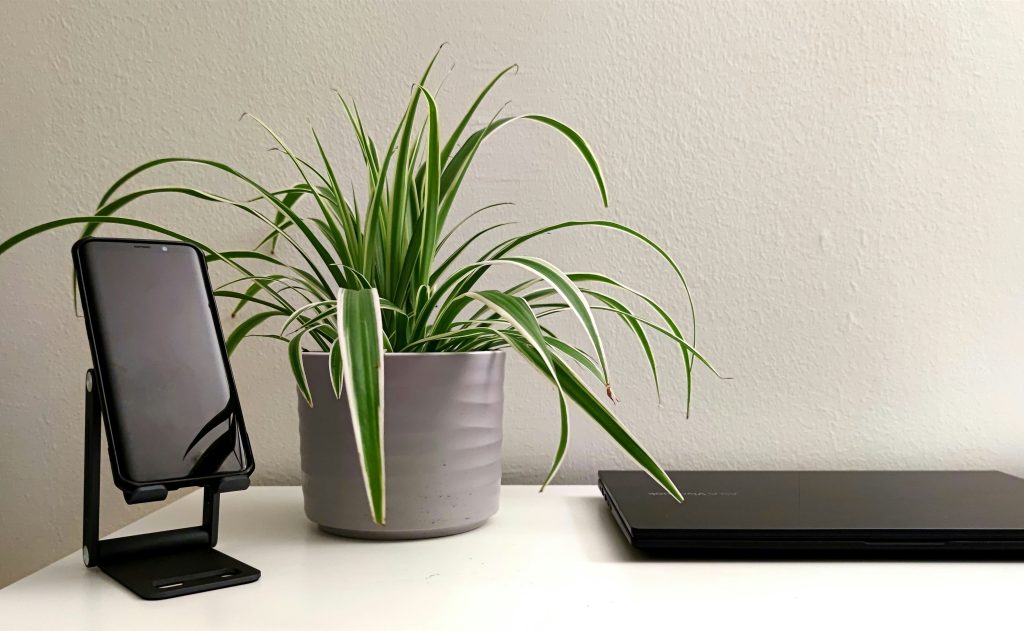
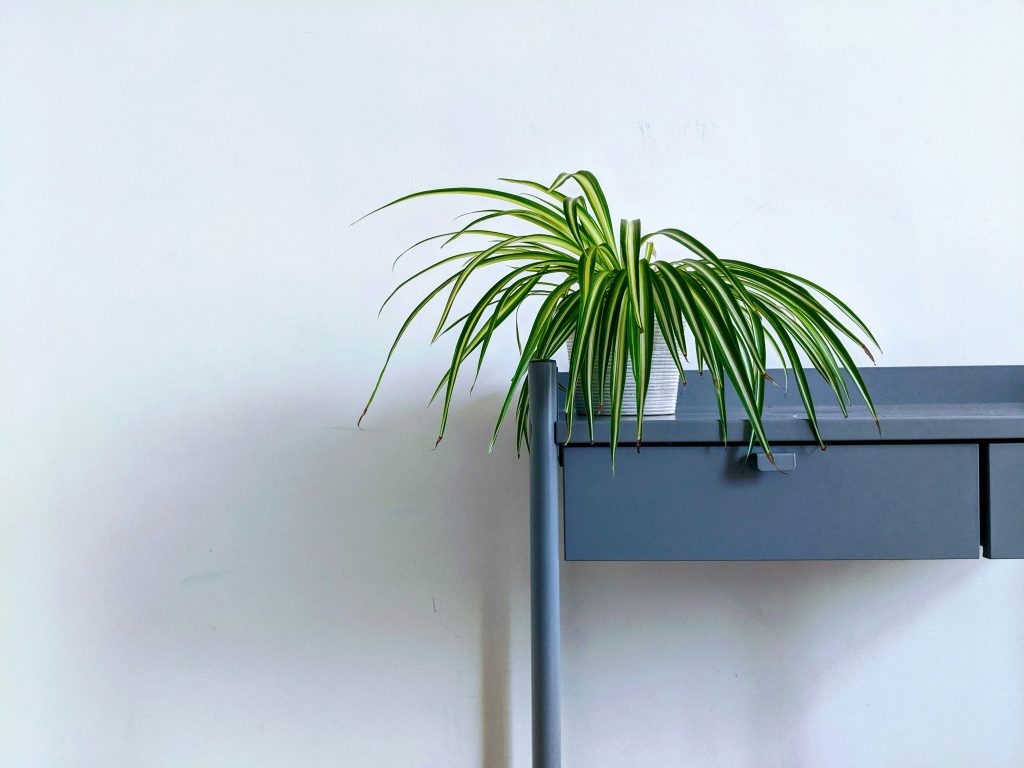
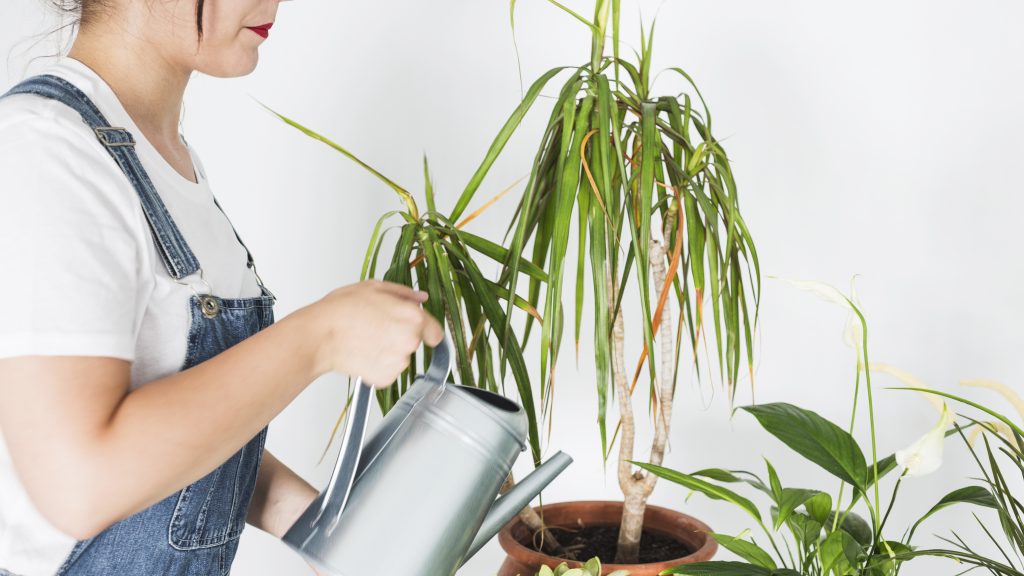
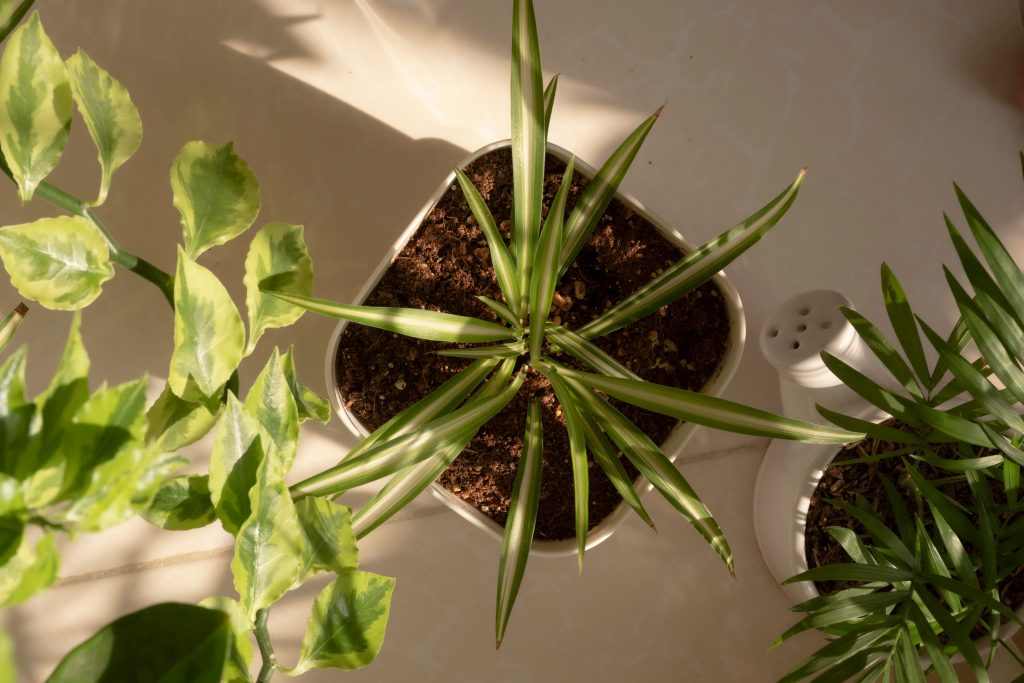
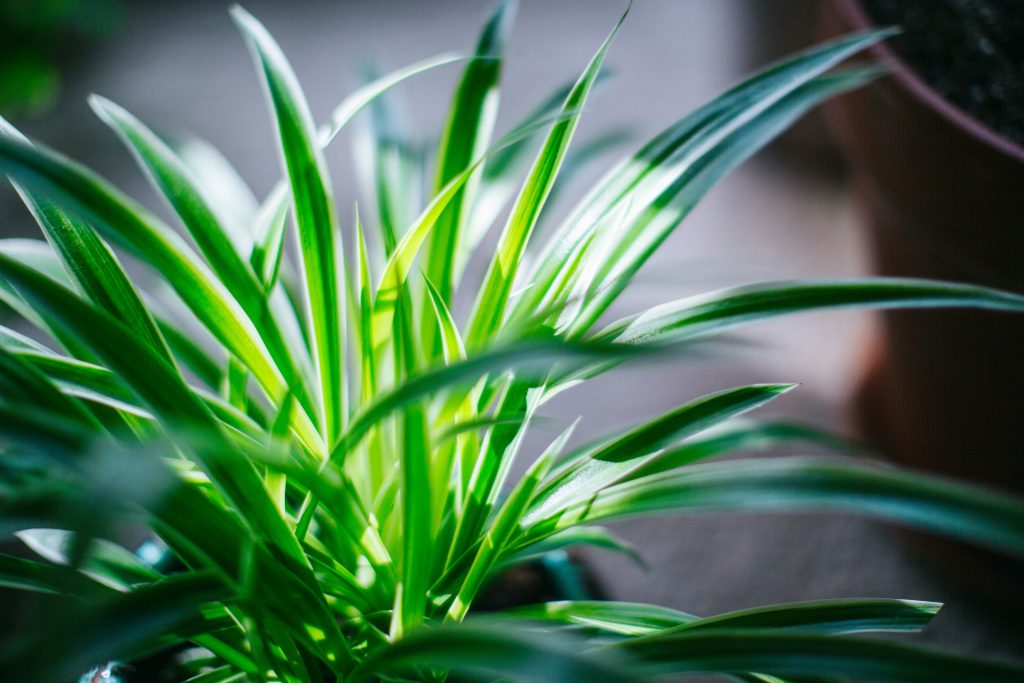
The spider plant (Chlorophytum comosum) is more than just a popular houseplant; it is a botanical phenomenon. Known for its arching green-and-white foliage and its uncanny ability to purify indoor air, it is a staple in homes across the globe. However, the true magic of this species lies in its reproductive generosity. One healthy mother plant can eventually produce hundreds of offspring. Learning how to propagate spider plant varieties is the fastest way to transform a single purchase into a sprawling indoor garden.
In this exhaustive guide, we will break down the science of stolons, the mechanics of root development, and five distinct technical steps required to clone your plants with a 100% success rate. Whether you are dealing with a massive overgrown specimen or a young plant just starting to produce pups, this guide provides the professional insights you need to master the art of propagation.
The Biology of Multiplication: Why Spider Plants Are So Easy to Clone
Before diving into the techniques, we must address the biological why. Spider plants utilize a reproductive strategy involving stolons (often called runners). In their native South African habitats, these runners allow the plant to walk across the forest floor. At the end of these runners are spiderettes—genetically identical clones of the parent.
Learning to propagate spider plants is especially successful for beginners because of their adventitious roots. These are the little brown popcorn-like nubs you see on the bases of the babies. These nubs are pre-formed root cells, just waiting for moisture to start their growth. They pass from a dormant to an active state of growth on contact with water or moist soil. Unlike other plants that require specific nodes or stem cuttings, the spiderette has everything it needs to survive independently of the mother.
1. Water Propagation (The Visual Success Strategy)
Water propagation is the most popular choice for a reason: it offers visual confirmation. You can see the roots growing, which allows you to monitor the health of the plant before it ever touches soil. This is particularly useful for those who want to use the plant as a decorative element in glass jars.
Selecting the Right Pups
The first step in how to propagate a spider plant in water is selection. Do not snip the first baby you see.
- The Maturity Check: Wait until the baby is at least 2 to 3 inches in diameter.
- The Root Nubs: Flip the baby over. If the bottom is smooth, it isn’t ready. You want to see distinct brown nubs.
- The Snip: Use a pair of sterilized micro-tip shears to cut the baby off the runner. Leave about half an inch of the runner stem attached to the baby to act as an anchor.
The Technical Setup
- Container: Use a narrow-necked glass. The narrow neck is vital because it holds the leaves up while allowing only the base to touch the water.
- Water Quality: Avoid tap water if possible. The fluoride in city water can burn the tender new root tips. Use rainwater or distilled water.
- The Oxygen Factor: Change the water every 48 hours. Stagnant water loses oxygen, which can cause the base of your cutting to turn mushy.
When to Move to Soil
A common mistake when learning how to propagate a spider plant is leaving the cutting in water too long. Water roots are fragile and specialized for an aquatic environment.
- The Golden Rule: Move the plant to soil when the roots are 1 to 2 inches long. If they get longer, the plant will experience significant transplant shock when it finally hits the dirt because it has to grow a new type of root system.
2. Direct Soil Potting (The Resilience Strategy)
If you want the most resilient plants possible, direct soil propagation is the way to go. This approach produces soil-ready roots from day one, meaning the plant grows faster and stronger. It avoids the trauma of moving from water to a solid medium.
Technical Implementation
- Prepare the Medium: Use a well-draining mix. A blend of 70% peat moss and 30% perlite is ideal to ensure oxygen reaches the new roots.
- Moisten First: Never put a new cutting into bone-dry soil. Dampen the mix until it feels like a wrung-out sponge.
- The Placement: Poke a small hole in the center, place the base of the baby inside, and gently firm the soil around it. Ensure the leaves are sitting above the soil line.
3. The Runner Pinning Technique (The Stolon Method)
This is the most natural way to learn how to propagate a spider plant because it keeps the baby on life support while it transitions to its own pot. This mimics how the plant reproduces in the wild.
Setup
Place a small pot of soil next to the mother plant.
Anchoring
While the baby is still attached to the mother, press it into the soil of the new pot.
Fastening
Use a bent paperclip or a U-shaped florist pin to secure the runner to the soil.
Independence
The mother plant will continue to feed the baby while it grows roots. Once the baby grows a new set of leaves, you can snip the connecting runner.
4. The Greenhouse Bag Method (High-Humidity Propagation)
For those in dry climates or during winter when indoor air is parched, the greenhouse bag method is the professional secret to success. It prevents the baby plant from losing moisture through its leaves while it has no roots to drink from.
Process
After placing a pup in moist soil, cover the entire pot with a clear plastic bag.
Seal
Use a rubber band to seal the bag around the pot.
Ventilation
Poke two small holes in the top of the bag for air circulation.
Benefit
This creates a 100% humidity environment. You will notice that babies propagated this way root nearly twice as fast as those left in the open air.
5. Propagation by Root Division (Rejuvenation Strategy)
Sometimes, your plant won’t produce babies, or the mother plant has become a massive, tangled mess. This is when you must use root division. This is necessary for older plants that have become extremely root-bound and stopped producing stolons.
The Tuber Check
Spider plants have thick, white, sausage-like roots called tubers. These store water.
The Process
Remove the plant from its pot and shake off the soil. Use a sharp, sterilized knife to cut the root ball into 2 or 4 sections.
The Rule
Each section must have its own crown and its own set of tubers.
The Result
This rejuvenates the mother by giving her more room to breathe and creates multiple mature plants instantly.
The Role of Light and Nutrients in Propagation
If you want to know how to propagate spider plants successfully on a massive scale, you must understand the environmental triggers. Light is the primary driver of reproductive energy.
- The Light Spectrum: Spider plants benefit from 12-14 hours of filtered sunlight. Direct afternoon sun can scorch the runners and kill the babies before they root.
- The Phosphorus Secret: Most indoor fertilizers are high in nitrogen for green leaves. However, if you want babies, you need phosphorus. Look for a fertilizer with a higher middle number to stimulate the blooming and stolon production.
- Pot Size Matters: A slightly root-bound spider plant is more likely to produce babies. If the pot is too large, the plant focuses all its energy on underground root expansion.
Troubleshooting: Why Your Propagations Fail
- Mushy Bases: This is root rot. Usually caused by dirty water or soil that stays too wet. Increase drainage and ensure you are using a sterilized container.
- Slow Rooting: When the soil or water temperature is between 70°F and 75°F, spider plants root more quickly. The procedure can be significantly accelerated by using a heat mat.
- Yellowing Leaves: If the baby turns yellow, it is likely not getting enough light to support its own photosynthesis. As soon as possible, move it to a brighter area.
Conclusion: Building Your Botanical Legacy
Mastering how to propagate spider plant varieties is more than just a cost-saving measure; it is a gateway into the deeper science of indoor gardening. By understanding these five core techniques—water rooting, direct soil potting, runner pinning, humidity bagging, and root division—you can ensure your home remains a thriving, air-purifying sanctuary. The spider plant is a resilient, forgiving species that rewards even the most minor efforts with an abundance of new growth. Start with a single mother plant, apply these professional techniques, and soon you will have a never-ending supply of greenery to fill your home or share with your community.
FAQs
1. How long does it take to propagate a spider plant?
Rooting in water takes 7-10 days, while soil establishment takes 2-3 weeks.
2. Can I propagate a baby that doesn’t have roots yet?
Yes, as long as the brown root nubs are visible on the bottom of the pup.
3. Why are my spider plant babies’ tips turning brown?
This is usually caused by fluoride or salt buildup from using standard tap water.
4. Can I grow a spider plant from a single leaf?
No, you must have the crown of a pup or a root division to grow a new plant.
5. What is the best pot size for a new propagation?
A small 2-inch to 3-inch pot is ideal to prevent soil from staying too wet.
6. Do I need to use rooting hormone?
No, spider plants produce enough natural hormones to root successfully on their own.
7. Why is my mother plant not producing any babies?
The plant likely needs more light or needs to become more root-bound in its pot.
8. Is it better to propagate in spring or summer?
Spring and summer are best for active growth, but you can propagate year-round indoors.
9. Why did my water-rooted baby die when I put it in soil?
This is transplant shock; keep the soil very moist for the first week to help roots adapt.
10. How many babies can I take off a mother plant at once?
You can remove all of them, though leaving a few preserves the plant’s aesthetic look.