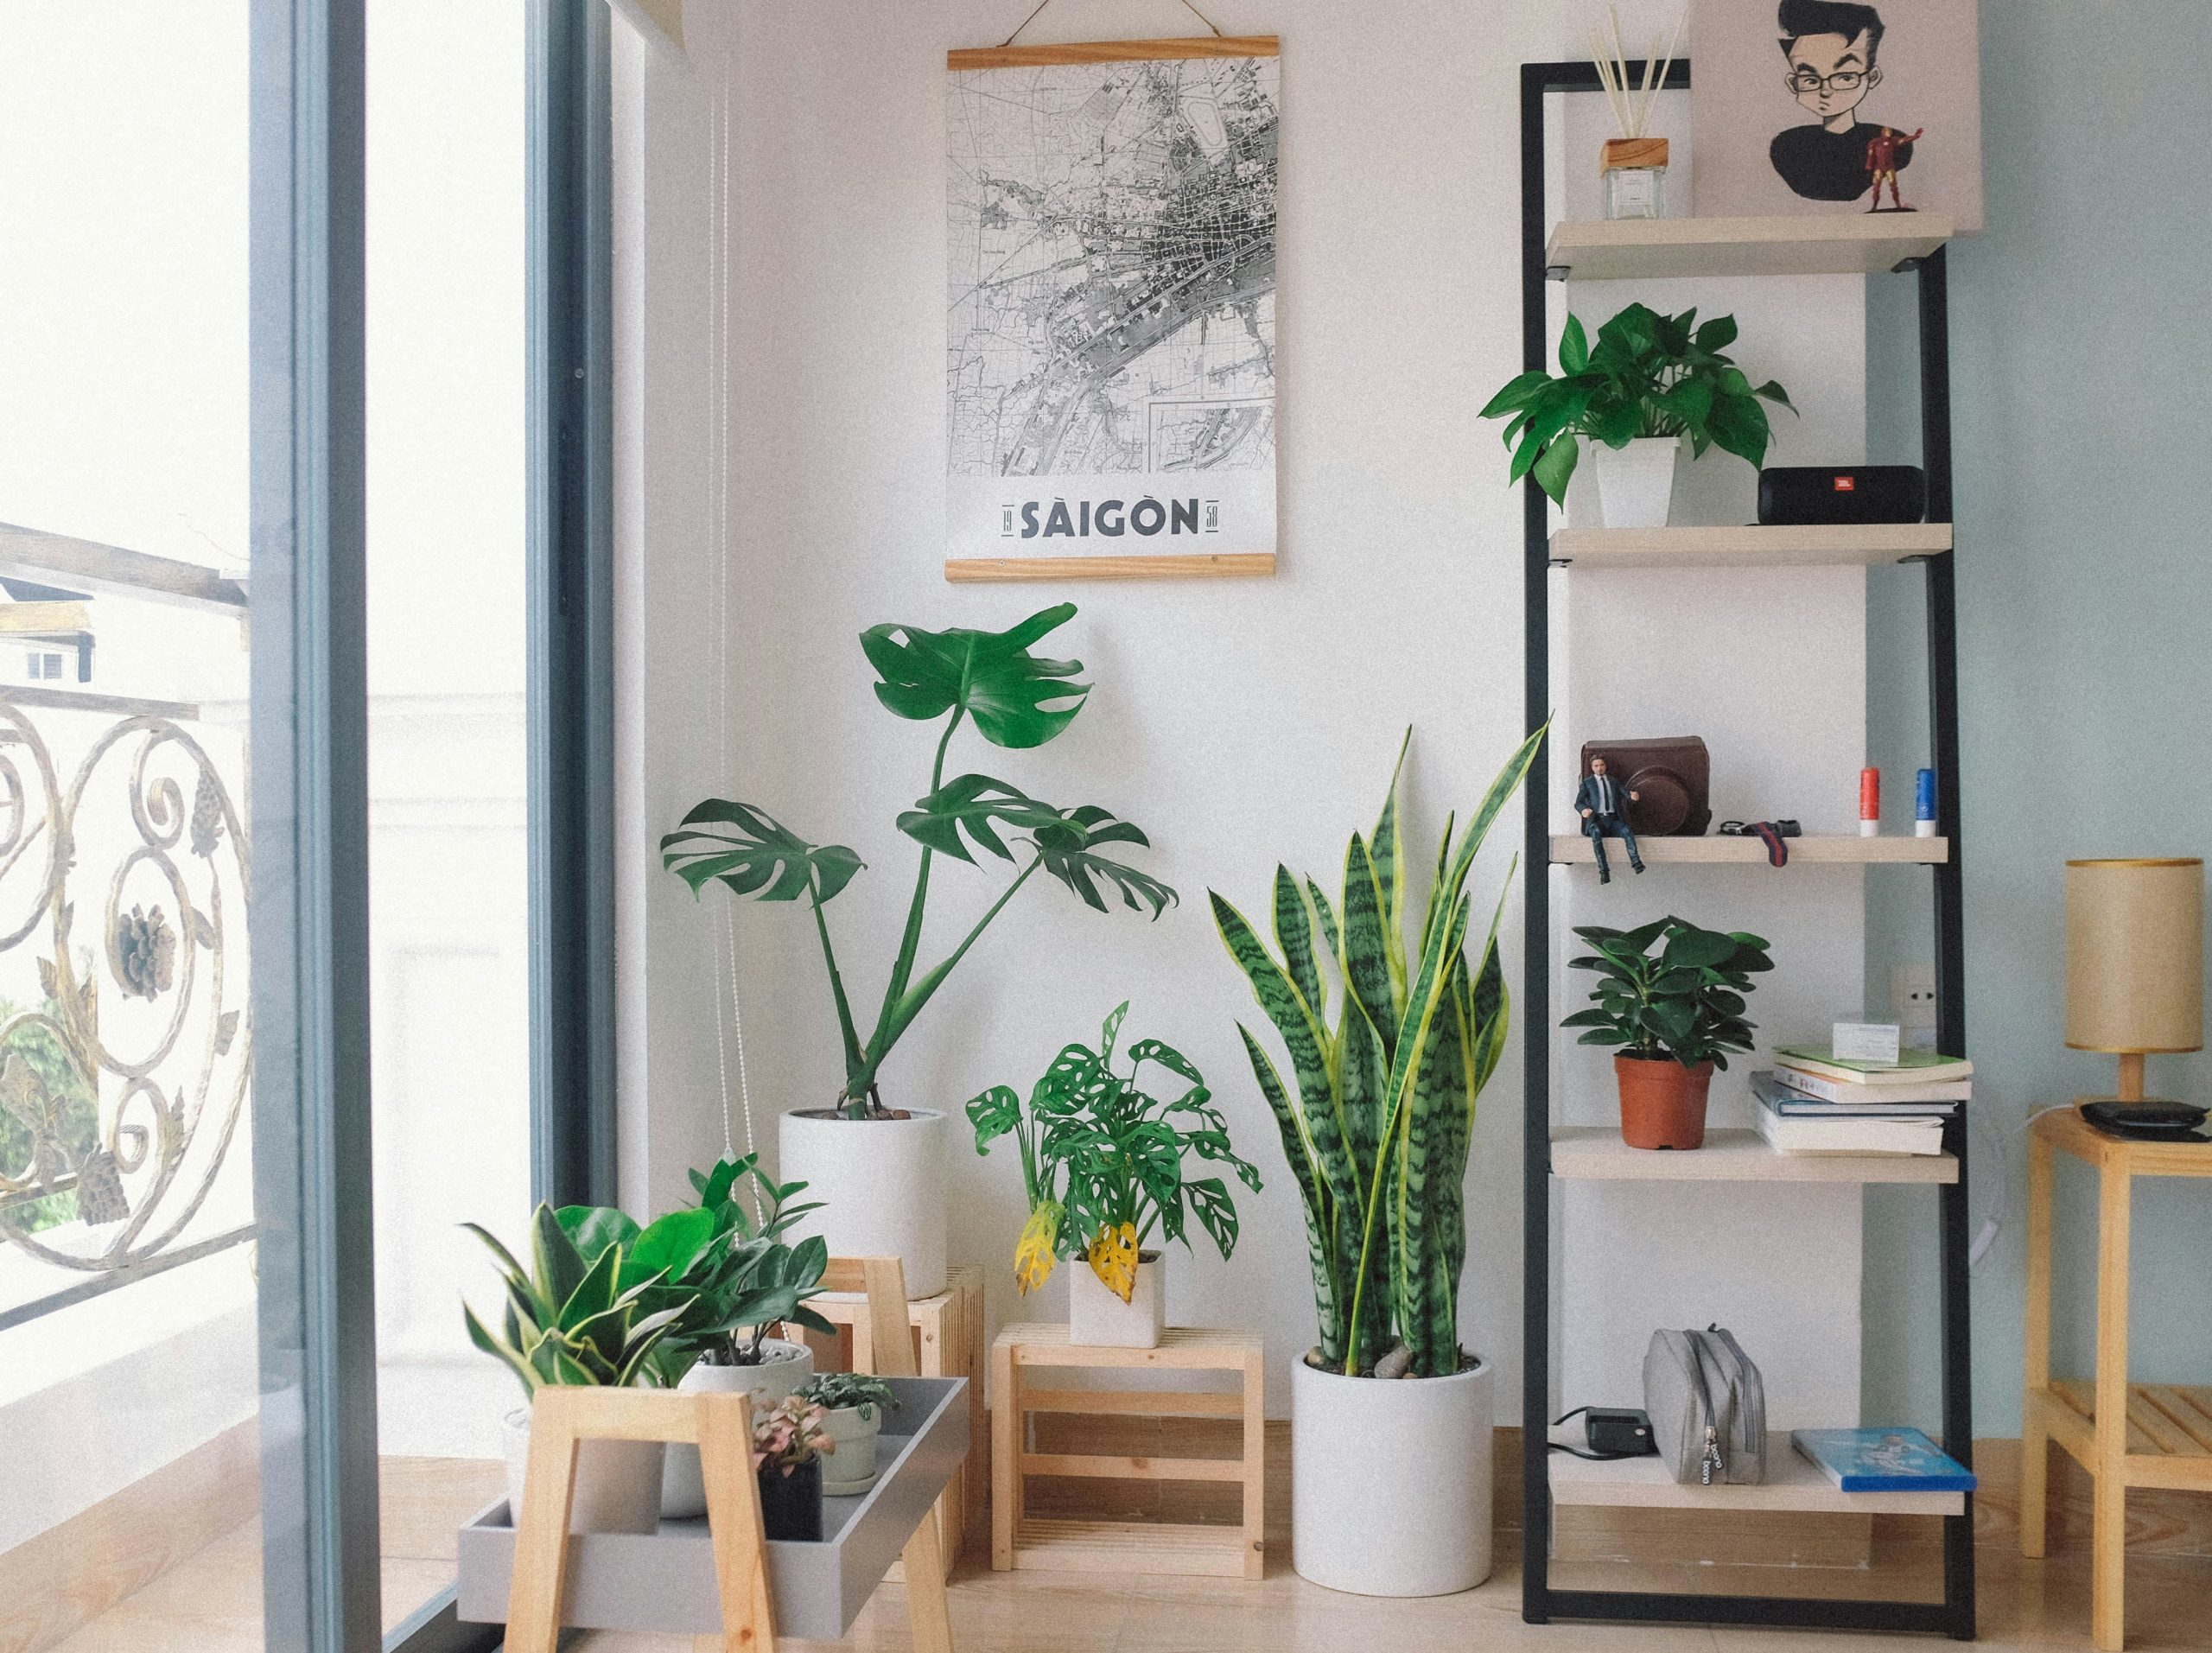
Introduction
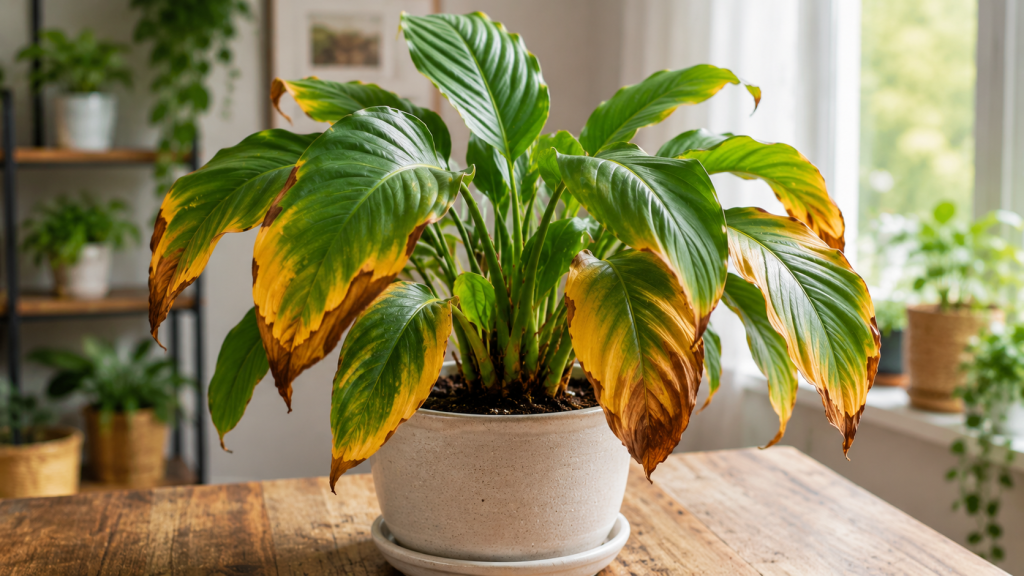
Why are my indoor plant leaves turning yellow and brown? It is one of the most frustrating experiences for any indoor gardener. You notice a vibrant, lush green leaf slowly losing its color, developing sickly yellow patches, or turning crispy brown at the edges.
When your plant displays both yellowing and browning simultaneously, it is sending an urgent distress signal. This combined symptom usually indicates that the plant is experiencing multiple stressors at once—such as a severe disruption in its watering cycle, poor atmospheric conditions, or root-level decay.
Fortunately, most houseplant issues are completely reversible if caught early. By understanding how to read these visual cues and implementing the right corrective measures, you can halt the damage and revive your stressed houseplants fast. Here are the 7 easy, proven fixes to restore your indoor plants to perfect health.
1. Perfect Your Watering Routine (The Goldilocks Method)
The absolute most common trigger for discolored foliage is improper moisture management. Interestingly, both extreme overwatering and severe underwatering can cause a mix of yellow and brown leaves, but they manifest differently:
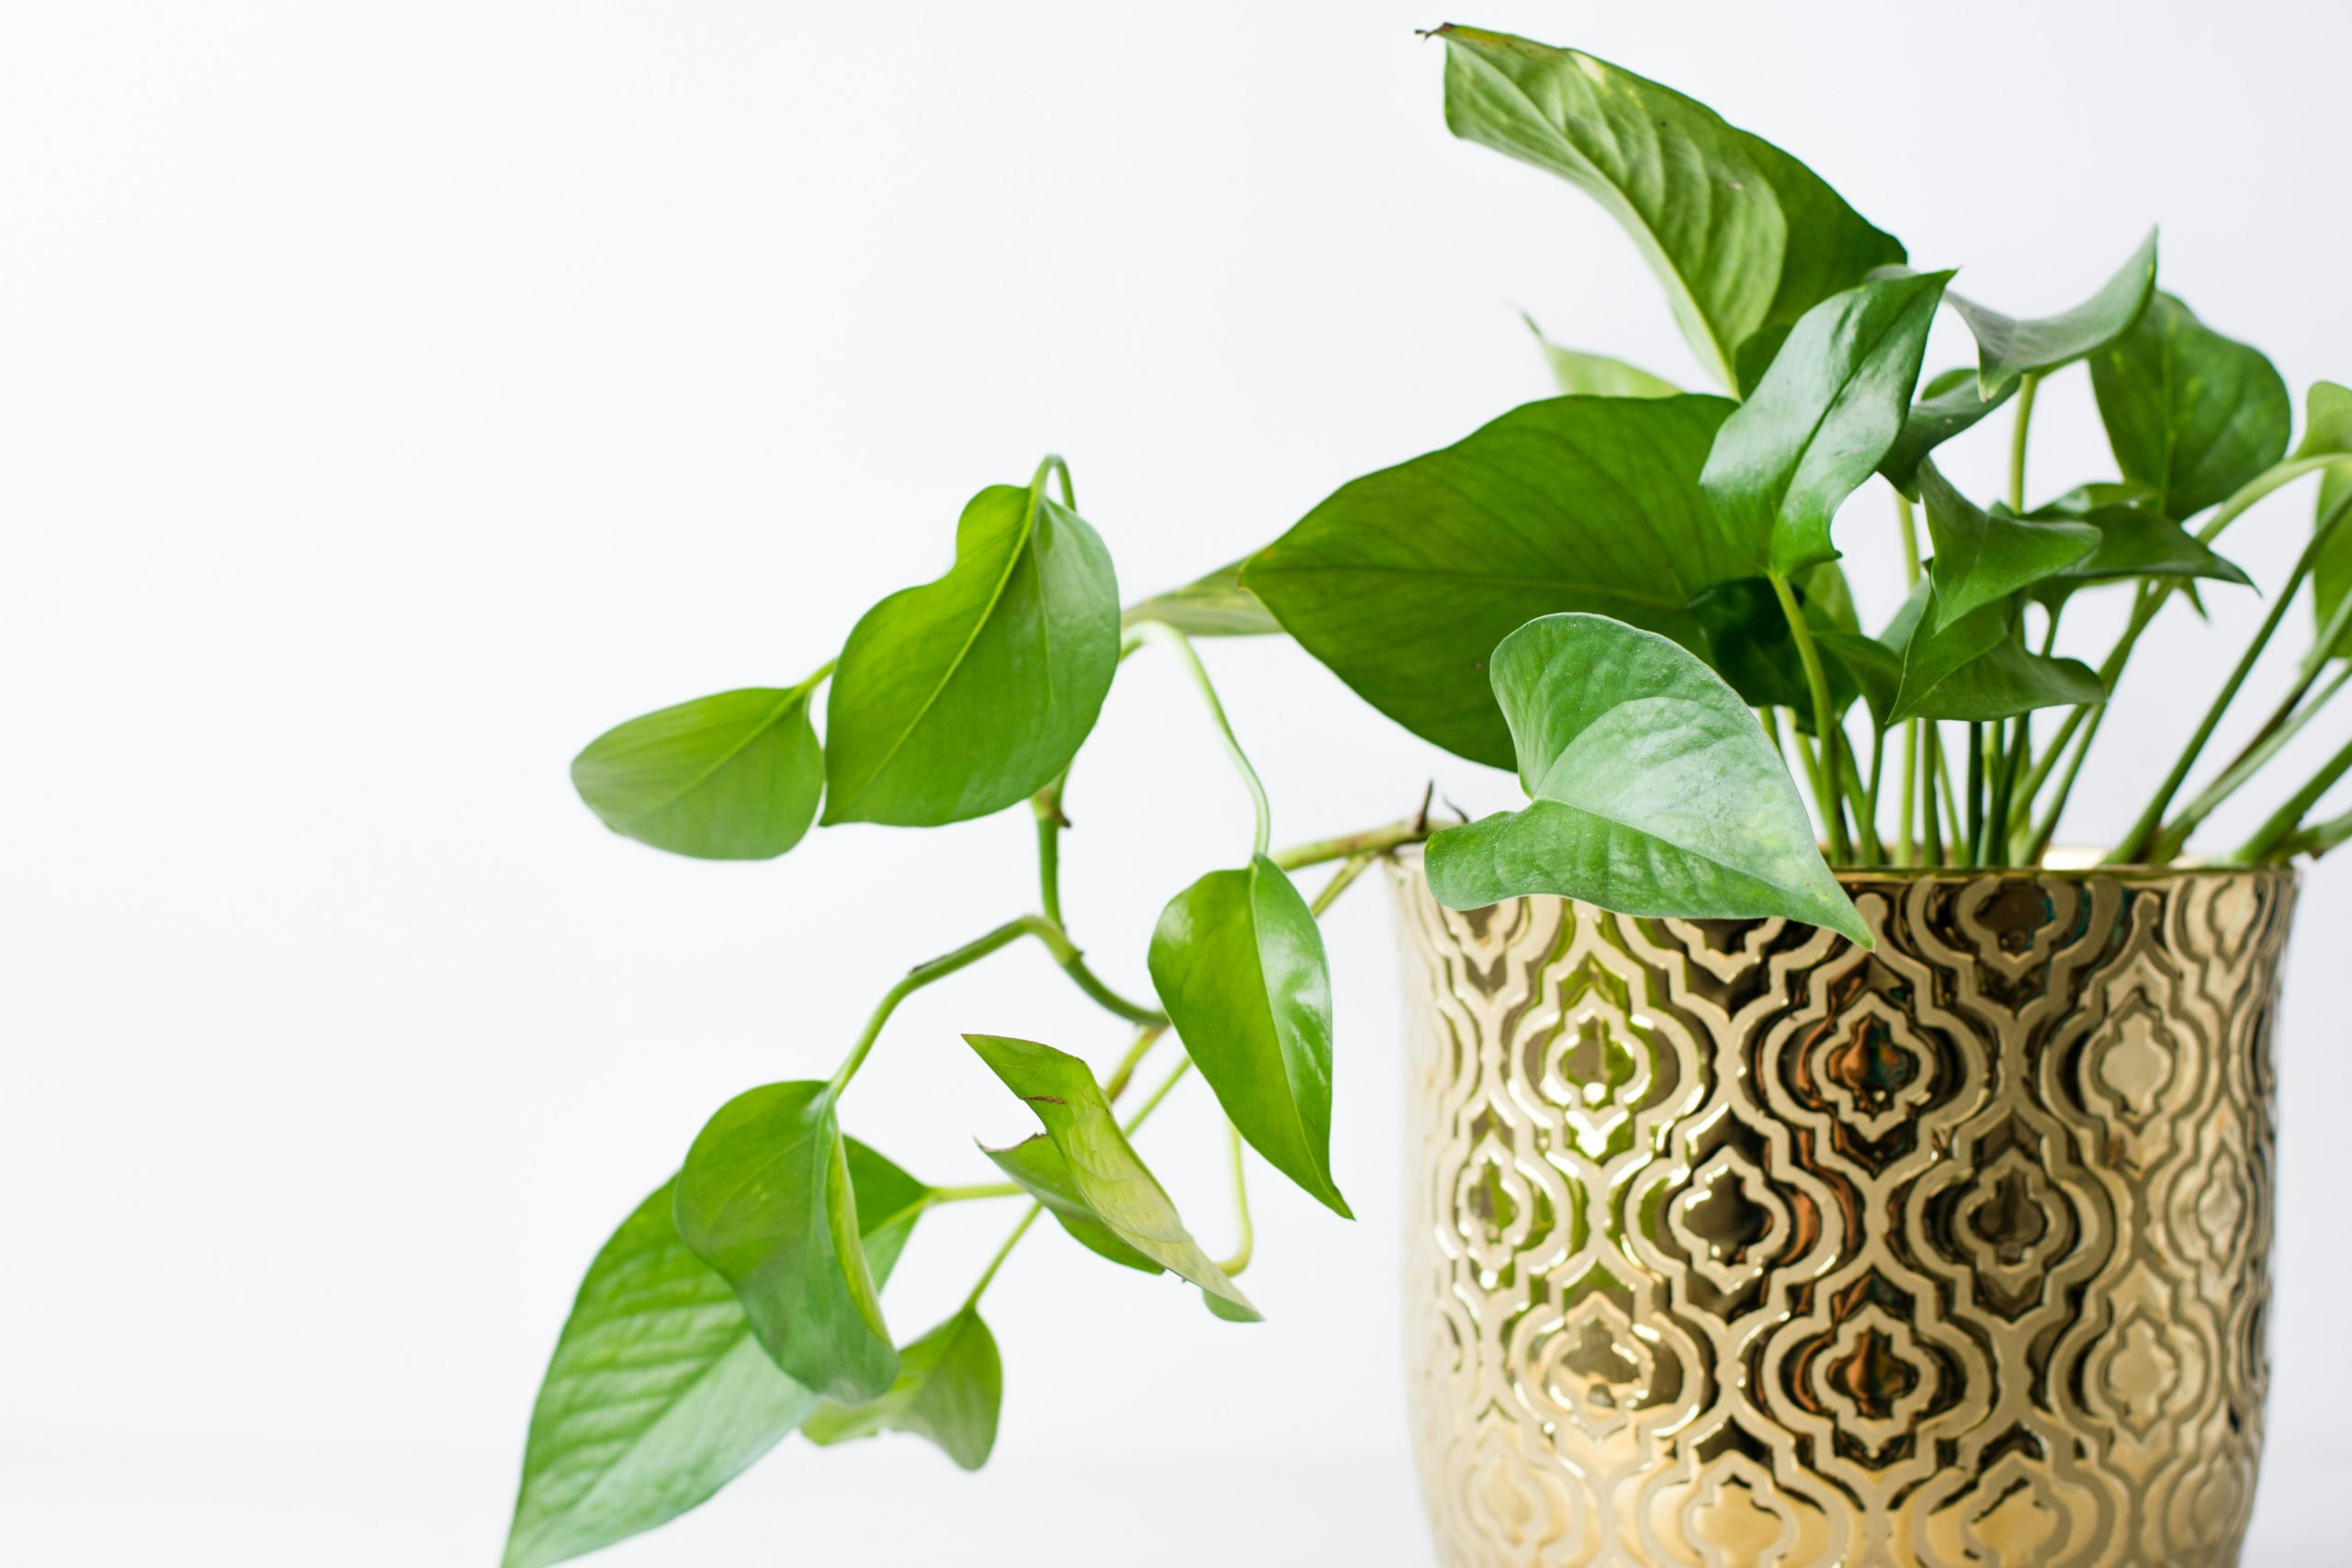
- Overwatering: When soil remains constantly saturated, oxygen cannot reach the roots, leading to root suffocation. The lower leaves typically turn a pale, limp yellow first, followed by soft, dark brown or black spots near the center or base of the leaf.
- Underwatering: Without enough water, the plant cannot transport vital nutrients to its upper canopy. The oldest leaves will turn completely yellow, dry out, and develop paper-thin, crispy brown tips and edges that crumble to the touch.
How to Fix It:
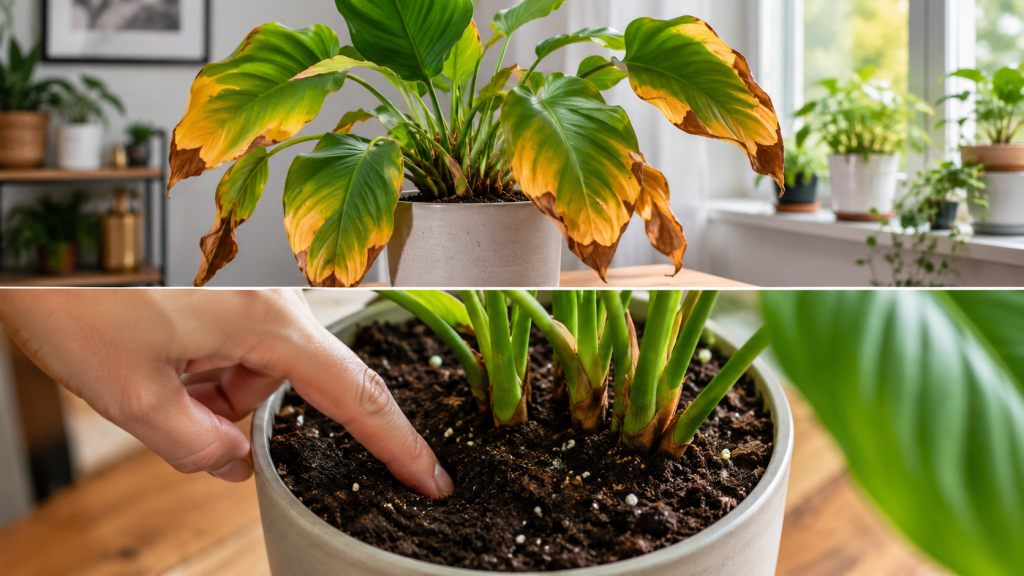
Stop watering on a strict calendar schedule. Instead, practice the “finger test.” Push your index finger down 1 to 2 inches into the potting soil. If it feels completely dry, it is time to water thoroughly until moisture drains out of the bottom holes. If it feels damp, wait a few days and check again.
2. Upgrade Your Drainage System
You can practice perfect watering habits, but if your potting environment holds onto stagnant moisture, your plant’s roots will eventually rot. A lack of proper drainage traps water at the bottom of the container, creating an anaerobic environment where destructive fungi thrive.
How to Fix It:
- The Container: Always ensure your pots have functional drainage holes at the base. If you fell in love with a decorative ceramic planter that lacks a hole, use it as a cachepot—keep the plant inside a plastic nursery liner pot with plenty of holes and place that inside the decorative container.
- The Soil Mix: Never use heavy, compact outdoor garden soil for houseplants. Always use a premium potting mix amended with coarse perlite, orchid bark, or pumice to create structural air pockets that allow excess water to flow through freely.
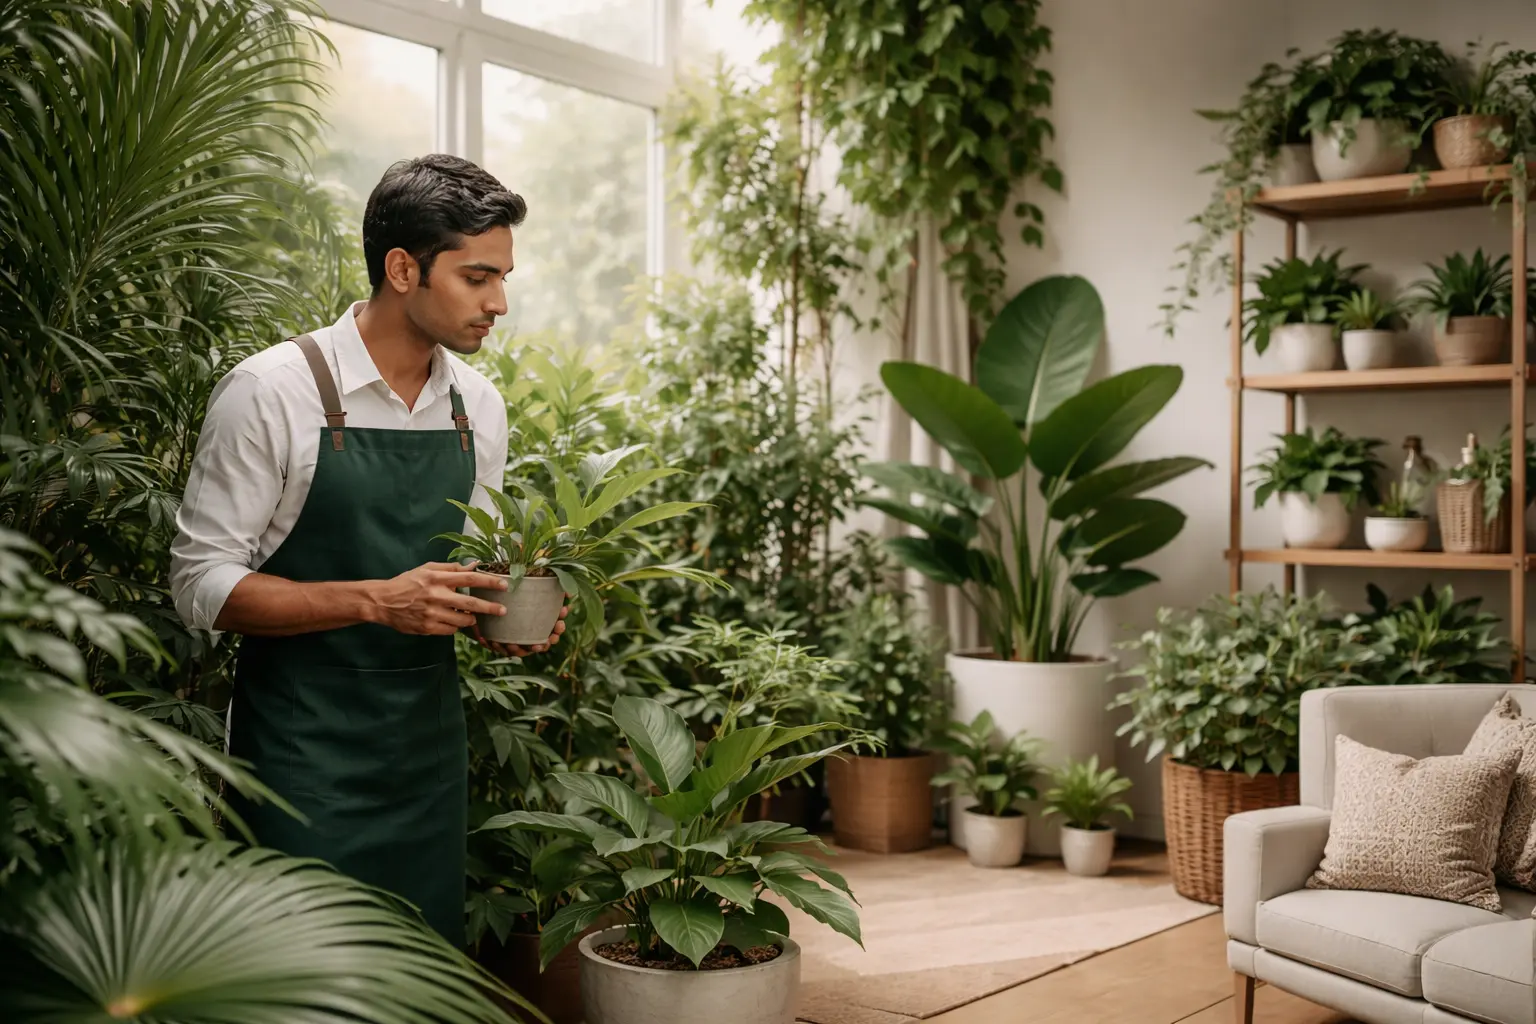
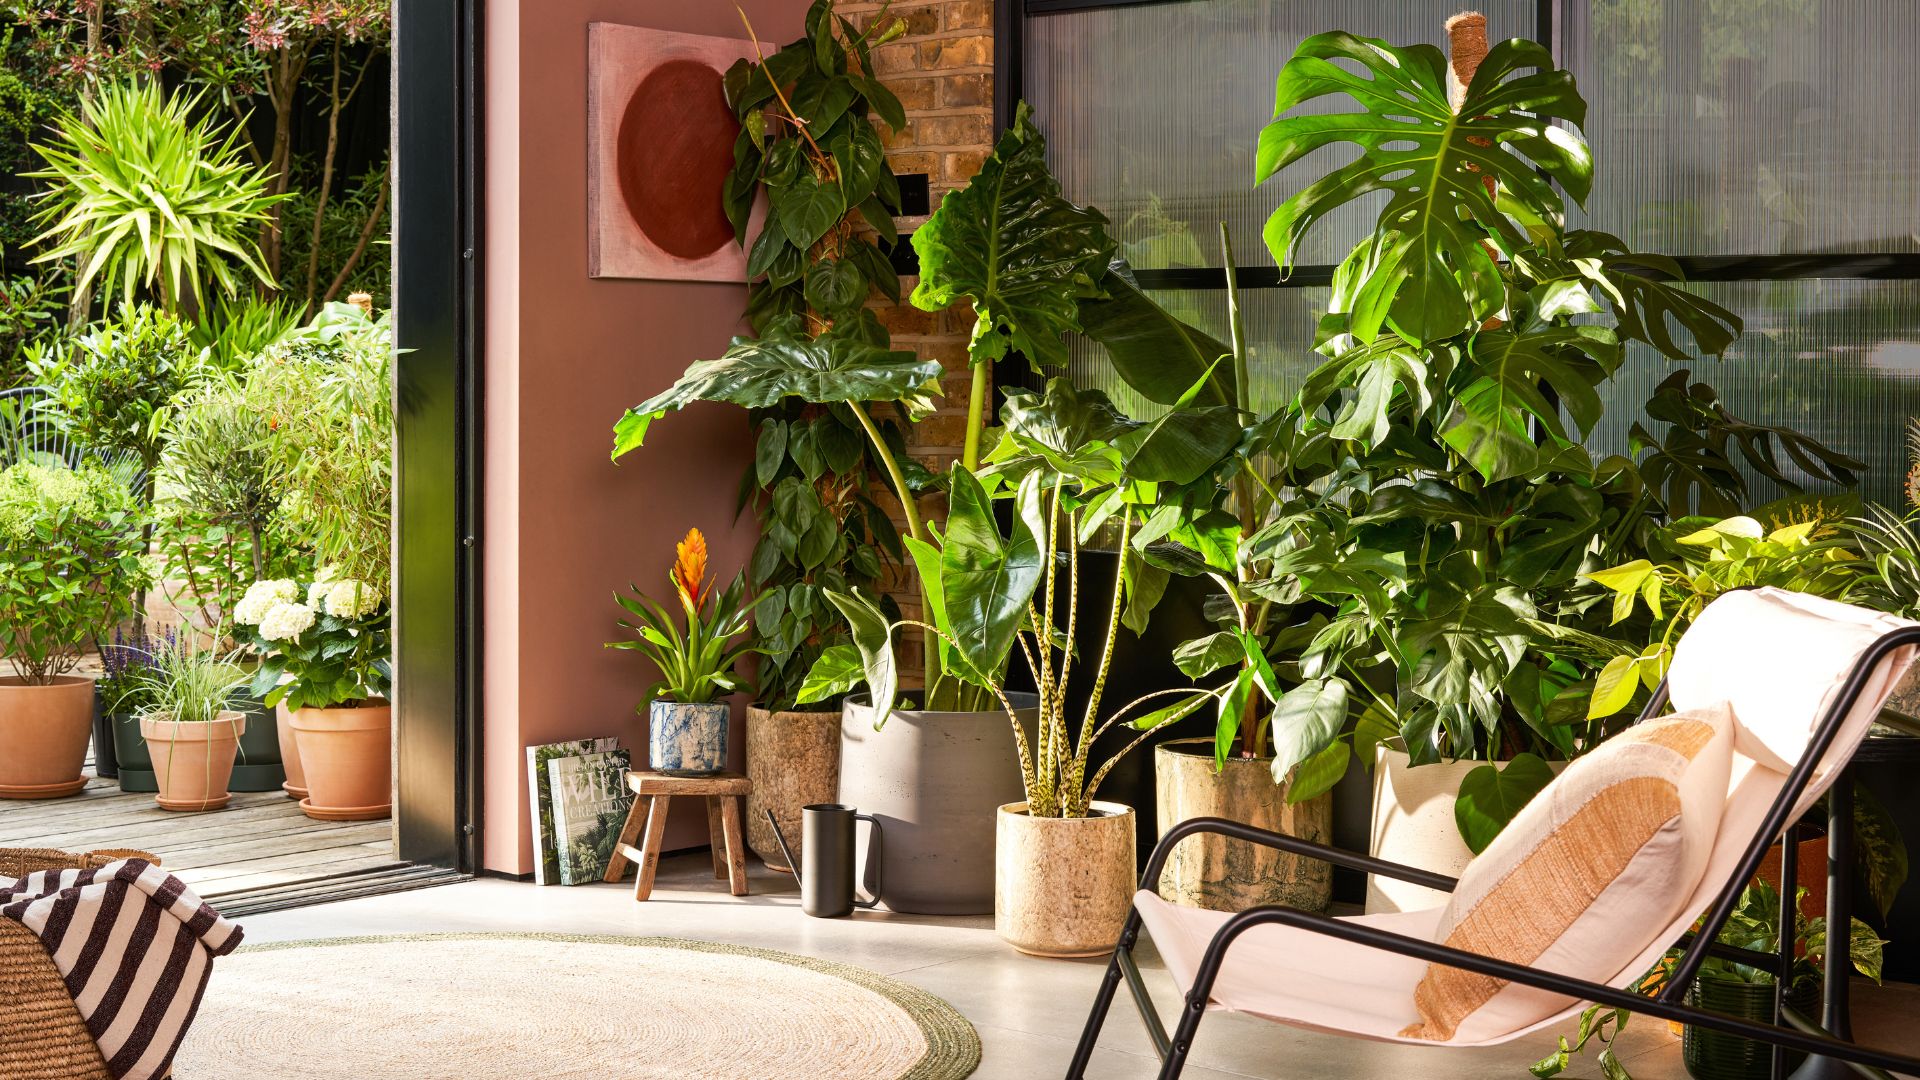
3. Boost Ambient Humidity for Tropical Varieties
Many popular indoor varieties such as Monsteras, Calatheas, and various ferns—are native to humid tropical rainforests. The dry, air-conditioned or heated air inside modern homes often lacks the moisture these plants require to keep their cells turgid. When the air is too arid, moisture evaporates from the leaf tips faster than the roots can supply it, resulting in dry yellow halos with crisp brown margins.
How to Fix It:
Group your tropical plants closely together to create a localized microclimate with higher humidity through collective transpiration. For a more robust solution, run a small ultrasonic cool-mist humidifier near your plant collection to maintain a steady ambient humidity level between 50% and 60%. Avoid frequent misting with a spray bottle, as wet leaves can invite fungal pathogens without effectively raising long-term humidity.
4. Adjust Light Exposure and Prevent Sun Stress
Indoor plants need light for photosynthesis, but the intensity and duration must match the specific variety’s requirements.
- Too Much Light (Sun Scorch): Placing low-light or indirect-light plants in a south-facing window with harsh, direct afternoon sun will literally bleach the foliage. The leaves will develop washed-out yellow patches, which quickly turn into dry, paper-like brown scorch marks.
- Too Little Light: When a plant doesn’t get enough light, it cannot produce enough chlorophyll to maintain its entire canopy. It will begin sacrificing its lower, older leaves, turning them uniformly yellow before they eventually turn brown and drop off.
How to Fix It:
Move sun-scorched plants a few feet back from hot windows, or filter the intense rays using a sheer, translucent curtain. For plants suffering from light starvation, gradually transition them to a brighter spot that receives plenty of bright, indirect sunlight, or install an LED grow light to supplement their daily light requirements.
5. Flush Out Accumulated Fertilizer Salts
Providing nutrients is essential for robust growth, but applying chemical fertilizers too frequently or using mixes that are too concentrated can lead to a condition known as “fertilizer burn.” Over time, unused synthetic nutrients accumulate in the potting soil as mineral salts. These salts act like a sponge, actively pulling moisture away from the root tissues and scorching the leaf margins.
How to Fix It:
Take your affected plant to a sink, bathtub, or outdoor area. Pour lukewarm water gently over the soil surface and let it run completely out of the bottom drainage holes for several minutes. This process, known as leaching or flushing, dissolves and washes away the crusty, built-up mineral salts. Moving forward, dilute your fertilizer to half the recommended strength and only apply it during the active spring and summer growing seasons.
6. Inspect for and Eliminate Sap-Sucking Pests
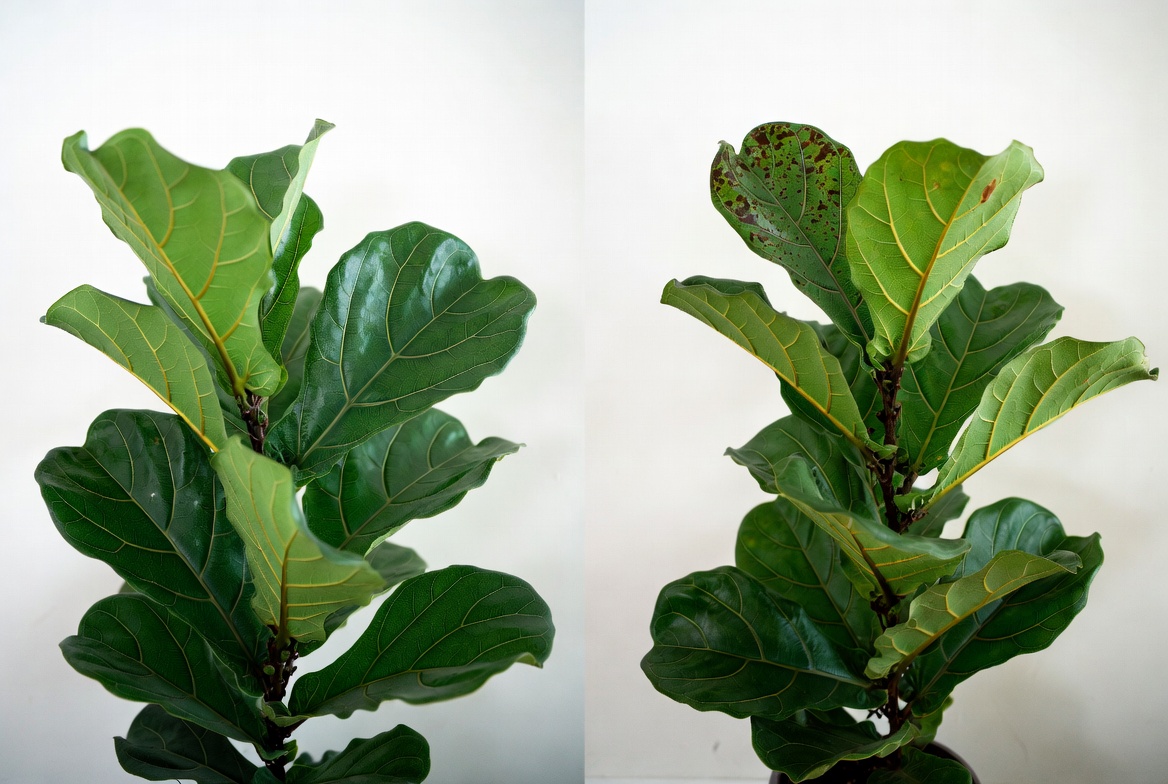
Tiny, aggressive indoor pests such as spider mites, thrips, scale insects, and mealybugs feed by piercing the plant’s cell walls and draining the vital sap inside. This localized damage creates distinctive yellow mottling, stippling, or speckled patches on the leaves. As the infestation spreads and the leaf tissue dies, these yellow spots rapidly turn into dead brown patches.
How to Fix It:
Carefully inspect the undersides of the leaves and the areas where the stems meet the main stalk. Look for fine webbing (spider mites) or small, cotton-like white clusters (mealybugs). Wipe down the foliage with a damp cloth to physically remove the insects, and then treat the entire plant thoroughly with an organic insecticidal soap or diluted pure neem oil solution once a week until all signs of the pests are gone.
7. Treat Underlying Fungal or Bacterial Infections
If the yellow and brown patches on your plant look like spreading, irregular rings or targets—often with a distinct bright yellow halo surrounding a dark brown or black center—your plant may be dealing with a fungal leaf spot or a bacterial disease. These pathogens typically take hold when the foliage remains wet for long periods or when air circulation around the plant is poor.
How to Fix It:
Isolate the infected plant immediately to prevent the pathogens from spreading to your healthy collection. Use a pair of sharp, sterile pruning shears to clip off the heavily diseased leaves and discard them in the trash. Spray the remaining healthy portions of the plant with an organic, copper-based fungicide or a natural sulfur spray according to the product label directions to stop the disease cycle.
Conclusion
When your indoor plants develop yellow and brown leaves, it is a clear sign that something in their immediate environment is out of balance. By checking the moisture levels in the soil, optimizing light, boosting humidity, and keeping a watchful eye out for pests, you can easily identify the root cause and correct it. Remember that consistency is key—once you adjust your care routine, give your plant time to stabilize, and you will soon see healthy, vibrant new green growth emerging.
Frequently Asked Questions
1. Should I cut off the yellow and brown leaves?
Yes, you should carefully prune away leaves that are mostly yellow or completely brown using sterilized pruning shears. These damaged leaves cannot photosynthesize or revert back to green, and removing them allows the plant to redirect its valuable energy and nutrients toward producing fresh, healthy new growth.
2. Can a plant recover if all of its leaves have turned yellow or brown?
If the stems remain firm and pliant and the root system is still alive and healthy, the plant can absolutely recover. Cut back the dead foliage, correct the environmental issue (such as replacing waterlogged soil or moving the plant out of dark corners), and maintain a minimalist care routine until new buds break through the stems.
3. How can I tell the difference between overwatering and underwatering damage?
Look closely at the texture of the damaged leaves. Overwatered leaves are typically soft, limp, mushy, and may feel slightly damp or heavy. Underwatered leaves are universally dry, brittle, paper-thin, and will crisp up and crumble easily when pinched between your fingers.
4. Will the yellow patches on my leaves ever turn green again?
No, once a specific section of a leaf turns yellow or brown due to cell damage, it cannot regain its green pigmentation. The plant has permanently shut down chlorophyll production in those damaged zones. Your primary focus should be protecting the remaining green leaves and encouraging new canopy growth.
5. Can tap water cause yellow and brown leaf tips?
Yes, absolutely. Many municipal tap water sources contain minerals, chlorine, and chemical fluorides. Some sensitive houseplants (like spider plants or calatheas) cannot process these chemicals, causing them to accumulate at the leaf edges, which creates a distinct yellow line followed by dry brown tips. Switching to filtered water or rainwater easily prevents this